There’s plenty of great posts out there on how to make bootable CUCM/Collaboration media with paid GUI software such as UltraISO or free command line utilities like cdrtools. Inspired by those bloggers, I wanted to share a method to create bootable media that features the best of both worlds: open source utilities with easy to use interfaces, all for the low low price of free.
Software you’ll need:
First, find an existing bootable CUCM ISO (a Red Hat or CentOS live cd will do the trick as well) and open it in 7zip.
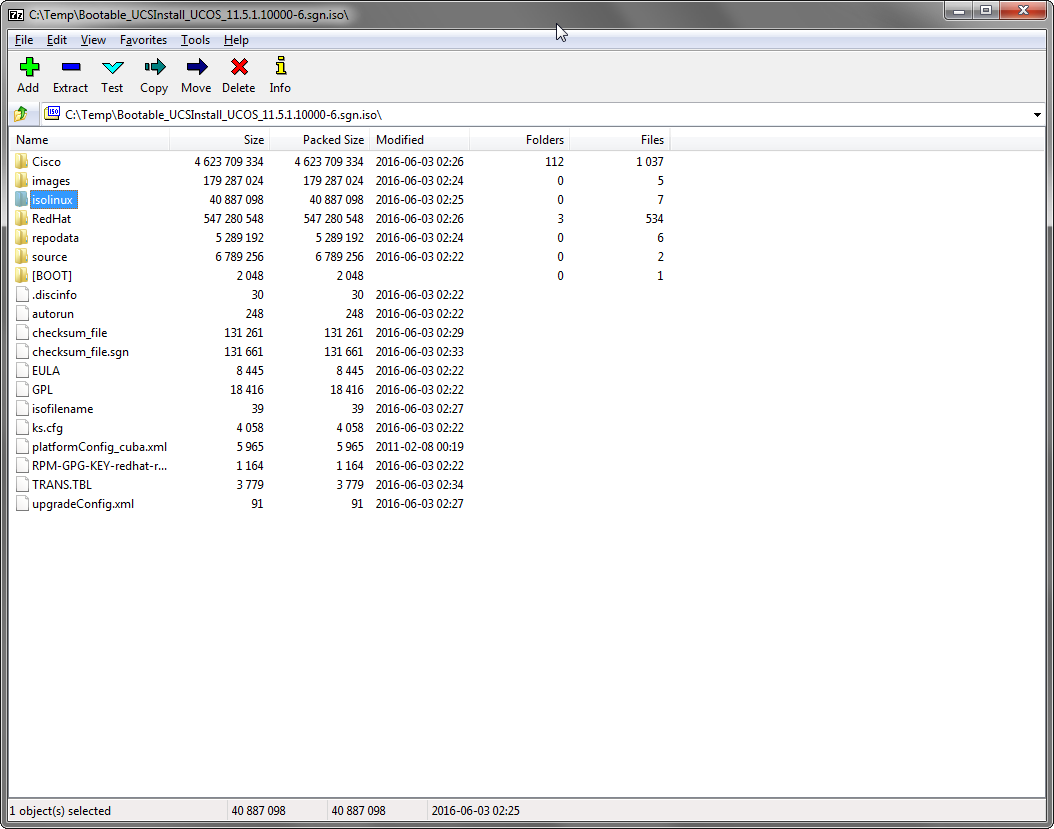
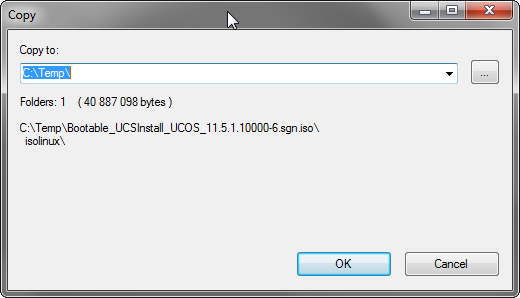
Find the isolinux directory, highlight it, and click Extract. Choose where to save the files.
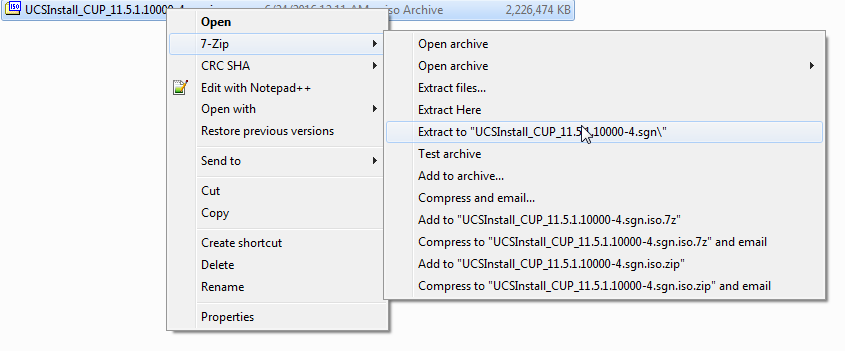
Next, take your non-bootable update dvd from Cisco and extract the contents with 7zip by right clicking the ISO -> 7-Zip -> Extract to….
Copy the isolinux directory you extracted earlier to the newly extracted Cisco ISO folder, overwriting any duplicate files.
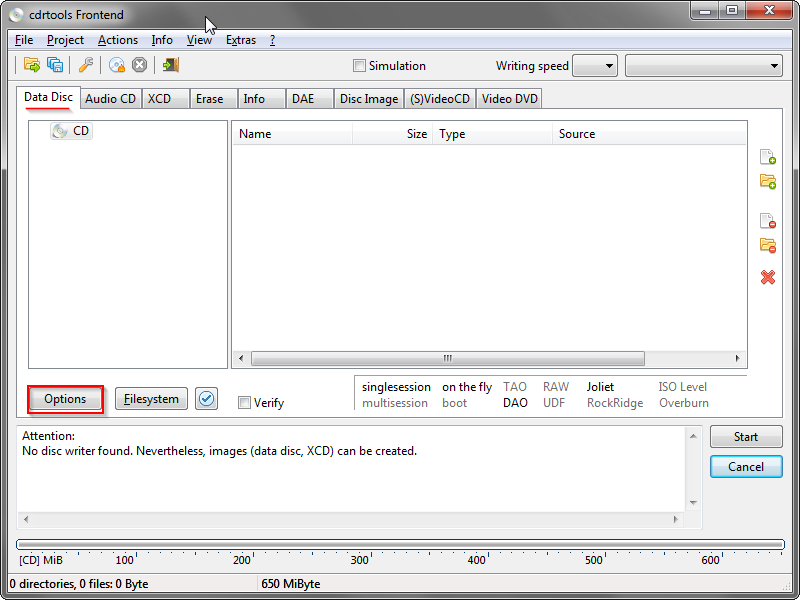
Now open cdrtfe. Under the Data Disc tab click Options.
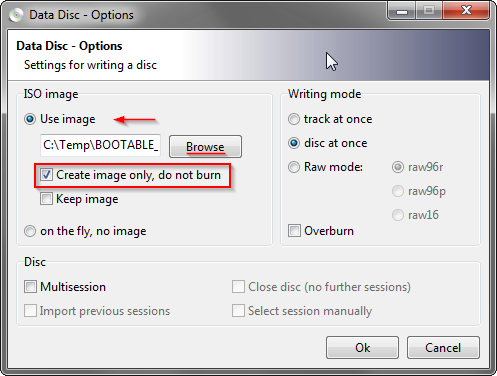
Under ISO image, select Use image, and browse to a location to store the finished ISO. Check Create image only, do not burn. Click Ok.
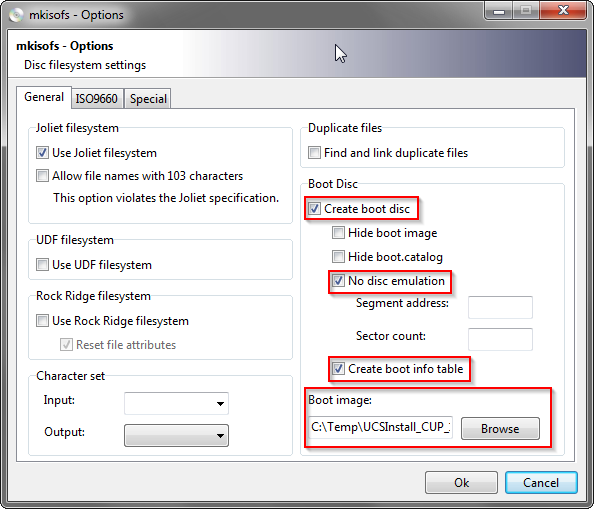
Next, click the File System button. Check the following options: Create boot disc, No disc emulation, and Create boot info table. Under the Boot image field, browse to the copied isolinux directory of your extracted ISO folder and select isolinux.bin. Click Ok.
 In file explorer, browse to your extracted ISO folder and copy over all the files and folders into the cdrfte window.
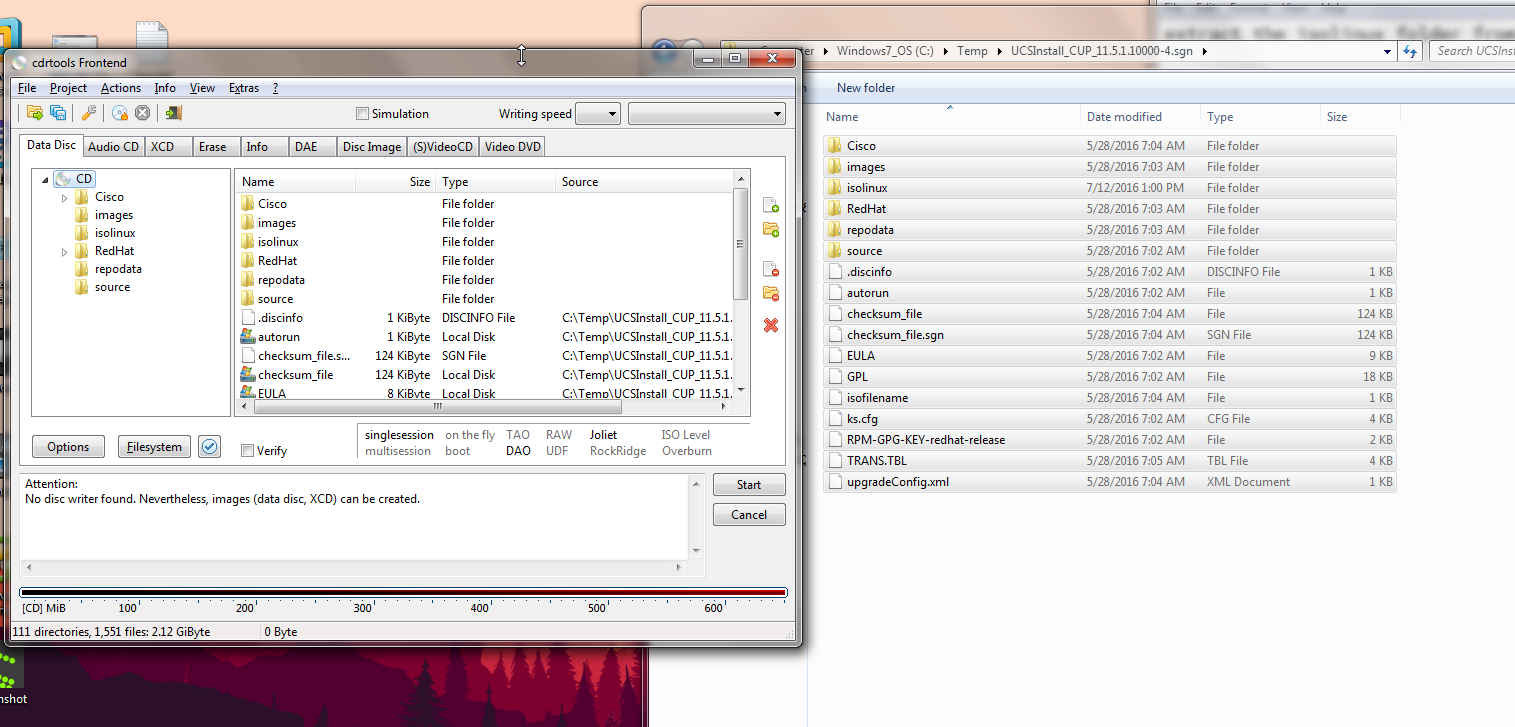 Click Start to create your ISO. Once completed you should have a fully bootable ISO!