On Windows I love the lightweight and open source TFTPD32, but there may come a time when you find youself needing to transfer some files and all you have is your trusty mac.
Luckily there’s a built in tftp daemon that you can use in a pinch.
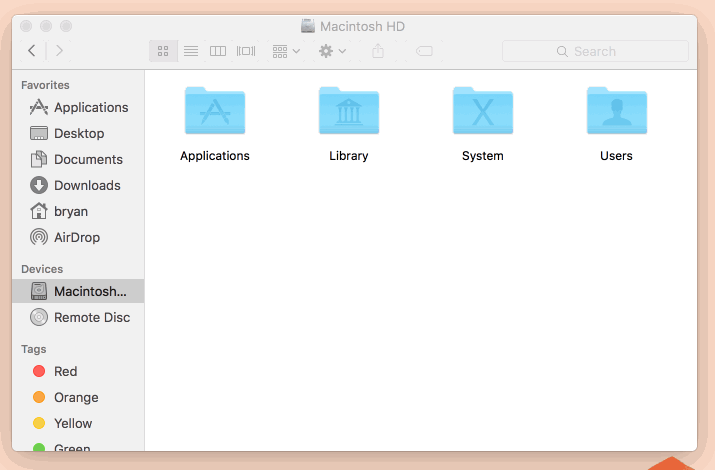
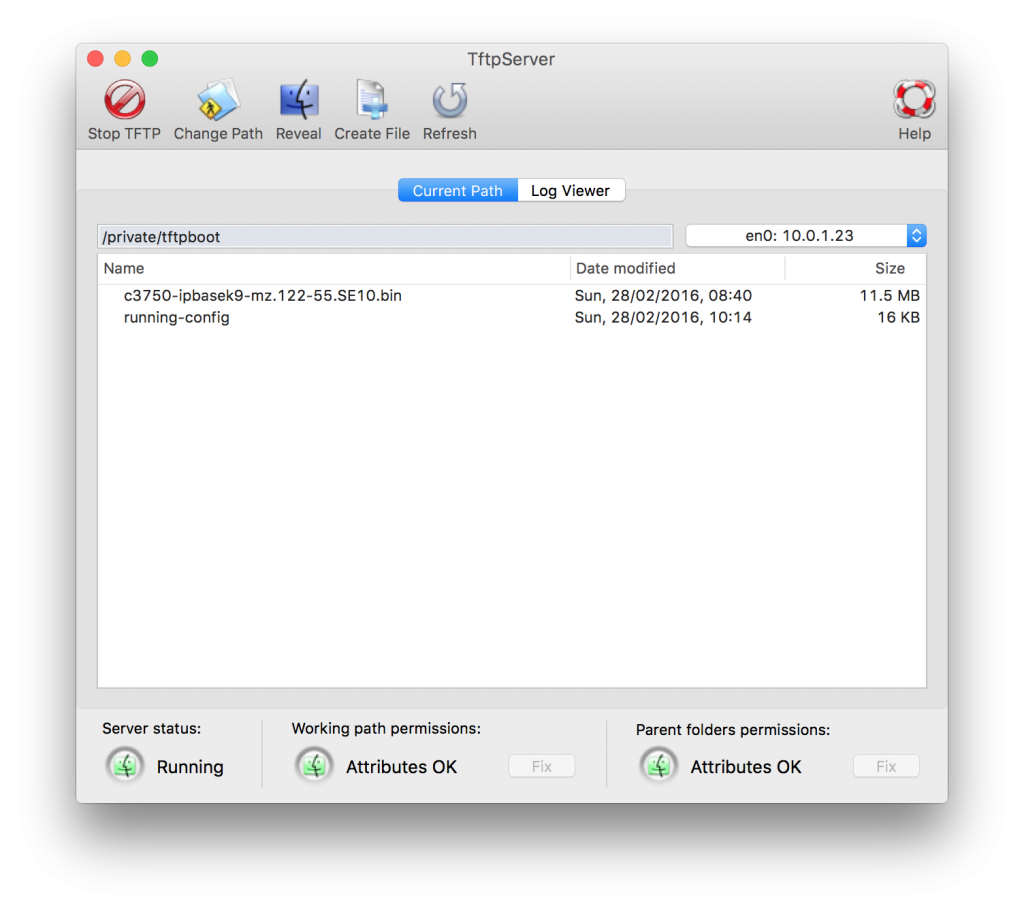
By default tftpd uses the following folder:
/private/tftpbootwhich is hidden in finder, but can be accessed by using “go to folder” or hitting Command+Shift+G and entering /private/tftpboot
To launch the daemon run the following commands:
sudo launchctl load -F /System/Library/LaunchDaemons/tftp.plistsudo launchctl start com.apple.tftpd
Be sure Read/Write/eXecute permissions are set on the tftpboot folder and any files you wish to transfer:
sudo chmod 777 /private/tftpbootsudo chmod 777 /private/tftpboot/*
If you’ll be transferring a file TO your TFTP server, the file will technically need to exist on the server beforehand so create it with touch. For example:
sudo touch /private/tftpboot/running-configsudo chmod 777 /private/tftpboot/running-config
If you’d like a graphical front end for launching tftp then check out the great TftpServer.
Now go ahead and get transferring.