Here are some more notes/little projects from playing around with the AWS free tier. This time, hosting a static webpage on S3, setting permissions on the bucket, and using Route 53 to point my domain to a statically hosted site.
Again, the docs and examples found on the AWS documentation site walk through all this in-depth and have been invaluable in learning more about the process: https://docs.aws.amazon.com/AmazonS3/latest/dev/website-hosting-custom-domain-walkthrough.html
Note: I bought and registered a new domain through AWS to play around with the free tier (wrmem.io), this automatically adds the hosted zones in Route 53.
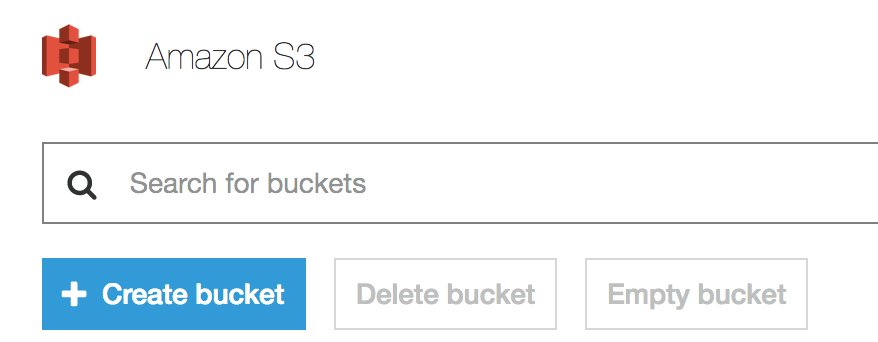
- In your AWS console navigate to S3. Click Create Bucket to begin creating your new bucket that will host the static webpage.
- On the create bucket settings enter a dns compliant name, for example I’ll be hosting my static page at static.wrmem.io
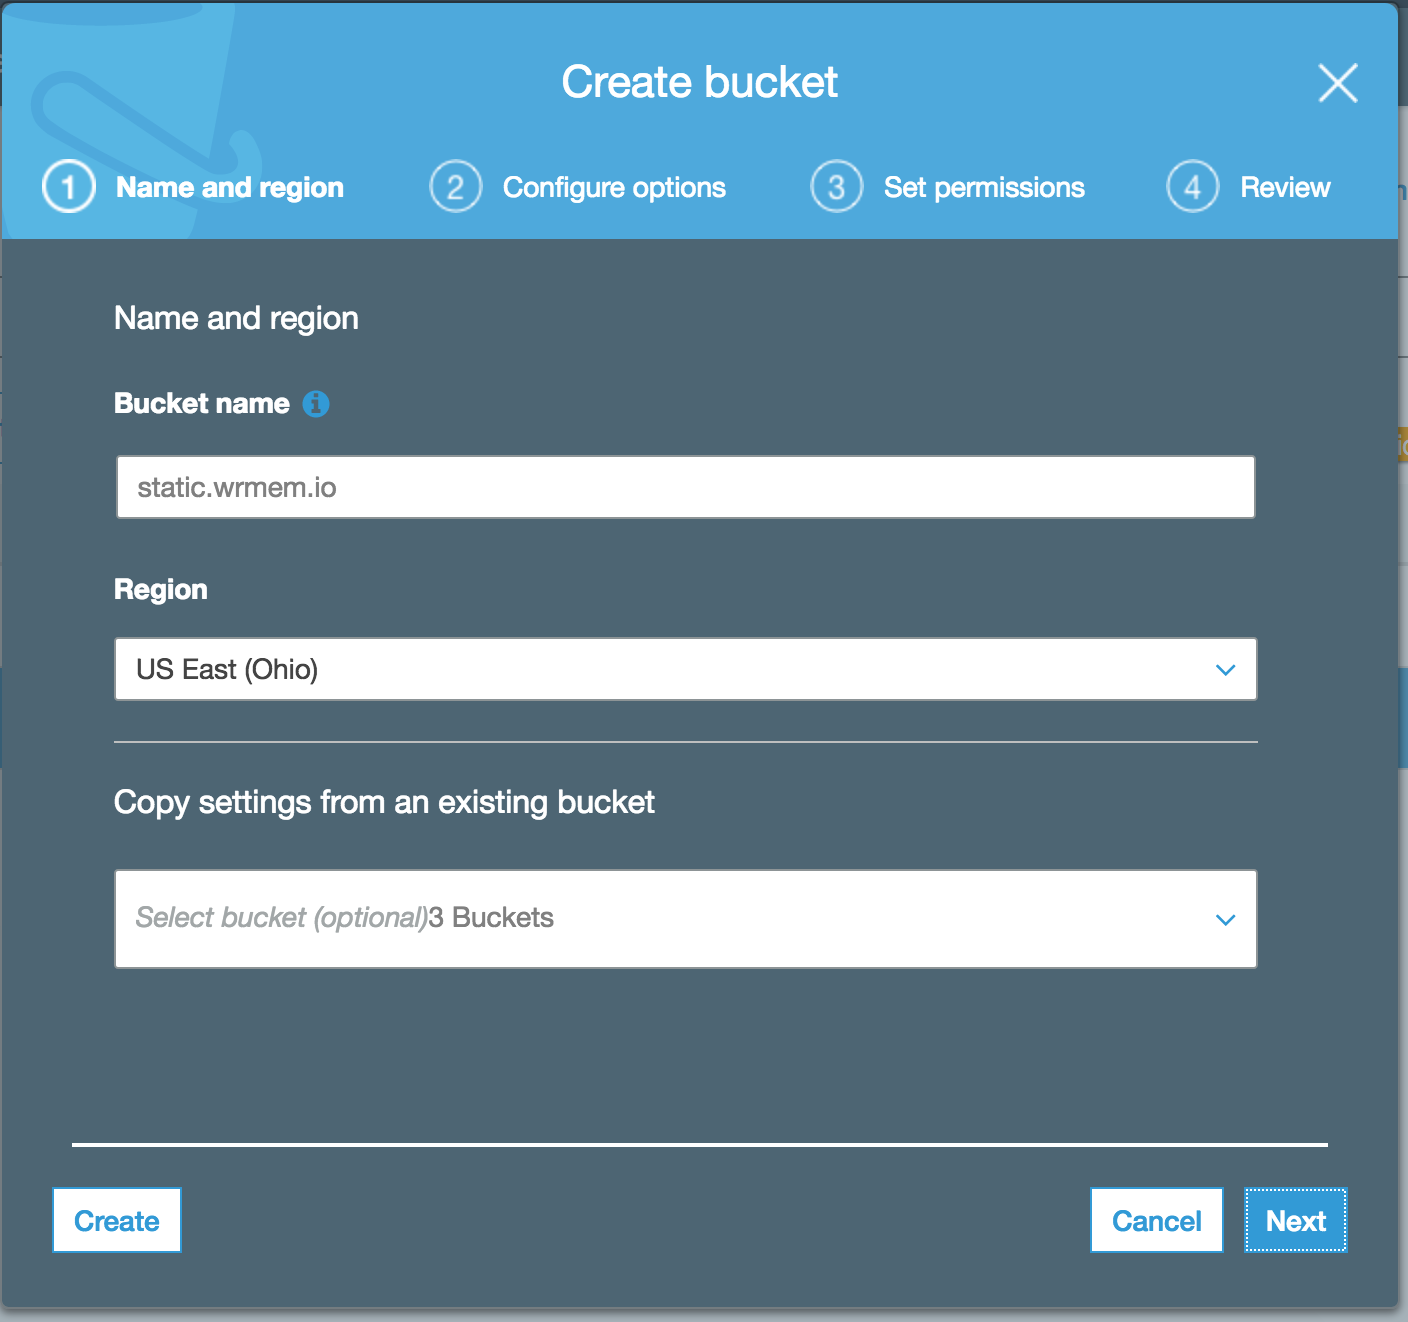
- From here you can just hit create. It’s best to leave the defaults for the bucket and adjust settings/permissions later when you upload your hosted content.
- Create a second bucket for the www. subdomain, this will be configured as a re-direct to the original bucket we created. Again enter the dns complaint name and hit create to leave the default bucket settings.
- Click the original bucket you created and under the Overview tab hit Upload.
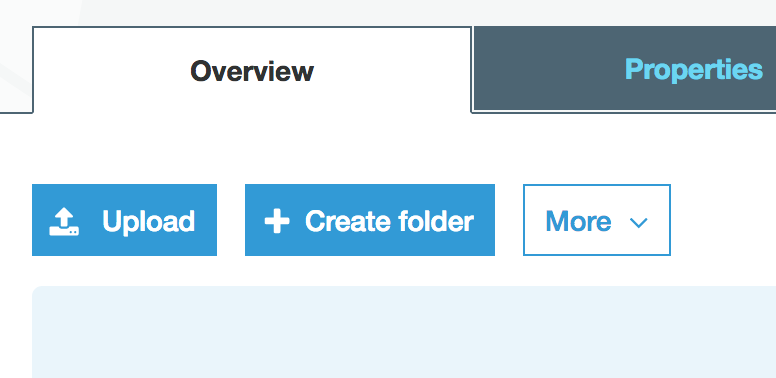
- For this example I uploaded a basic index.html with a simple ‘hello world’ type message.
<html xmlns="http://www.w3.org/1999/xhtml" >
<head>
    <title>Hello World</title>
</head>
<body>
  <h1>This is my static website hosted on AWS</h1>
  <p></p>
</body>
</html>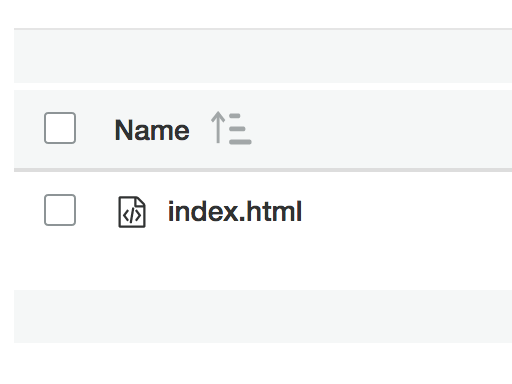
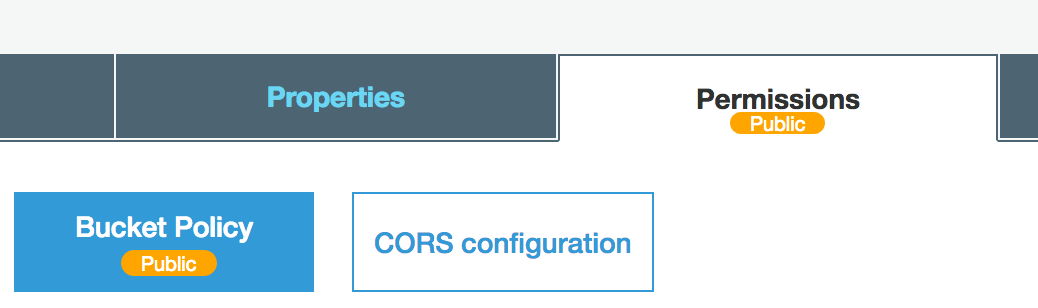
- Next we need to set the permissions on this S3 bucket to allow for the public to be able to read its contents. This can be done via an S3 bucket policy.
- In your S3 bucket, click Permissions, then Bucket Policy.
- In the Bucket Policy editor you can paste the following code (making changes to whatever your resource may be):
{
  "Version":"2012-10-17",
  "Statement":[{
	"Sid":"PublicReadGetObject",
        "Effect":"Allow",
	  "Principal": "*",
      "Action":["s3:GetObject"],
      "Resource":["arn:aws:s3:::static.wrmem.io/*"
      ]
    }
  ]
}- The code allows for the public to read/get objects from the S3 resource static.wrmem.io/*
- After making the change you should now see the Public sub heading alerting you that this bucket is now publicly accessible.
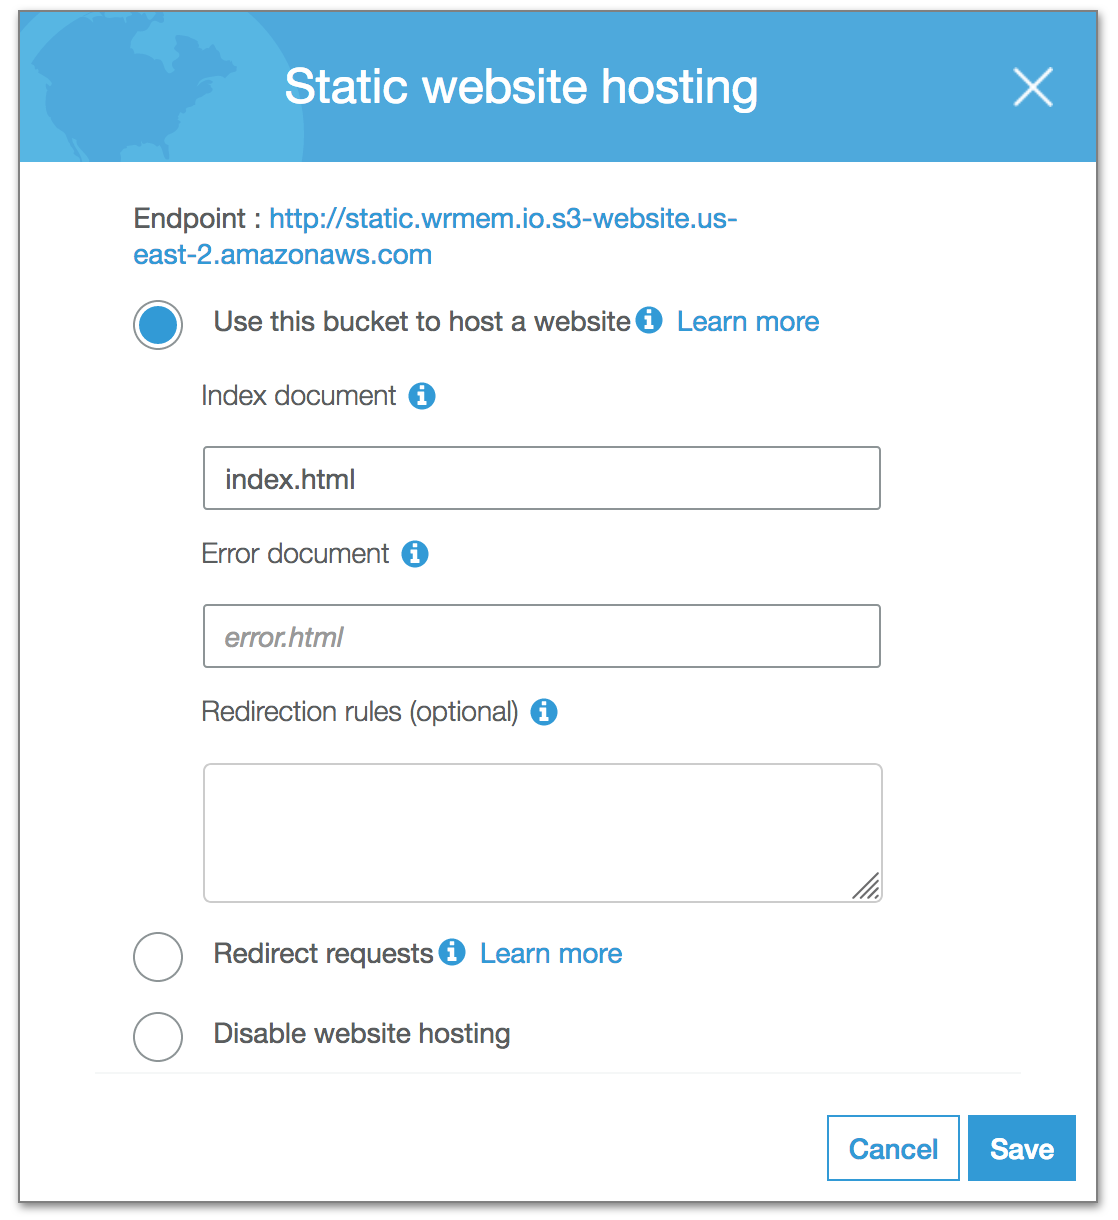
- Next we’ll need to set the bucket to allow for web hosting.
- In your bucket click Properties then find the Static Website Hosting option.
- Enter options for the index file and then hit save.
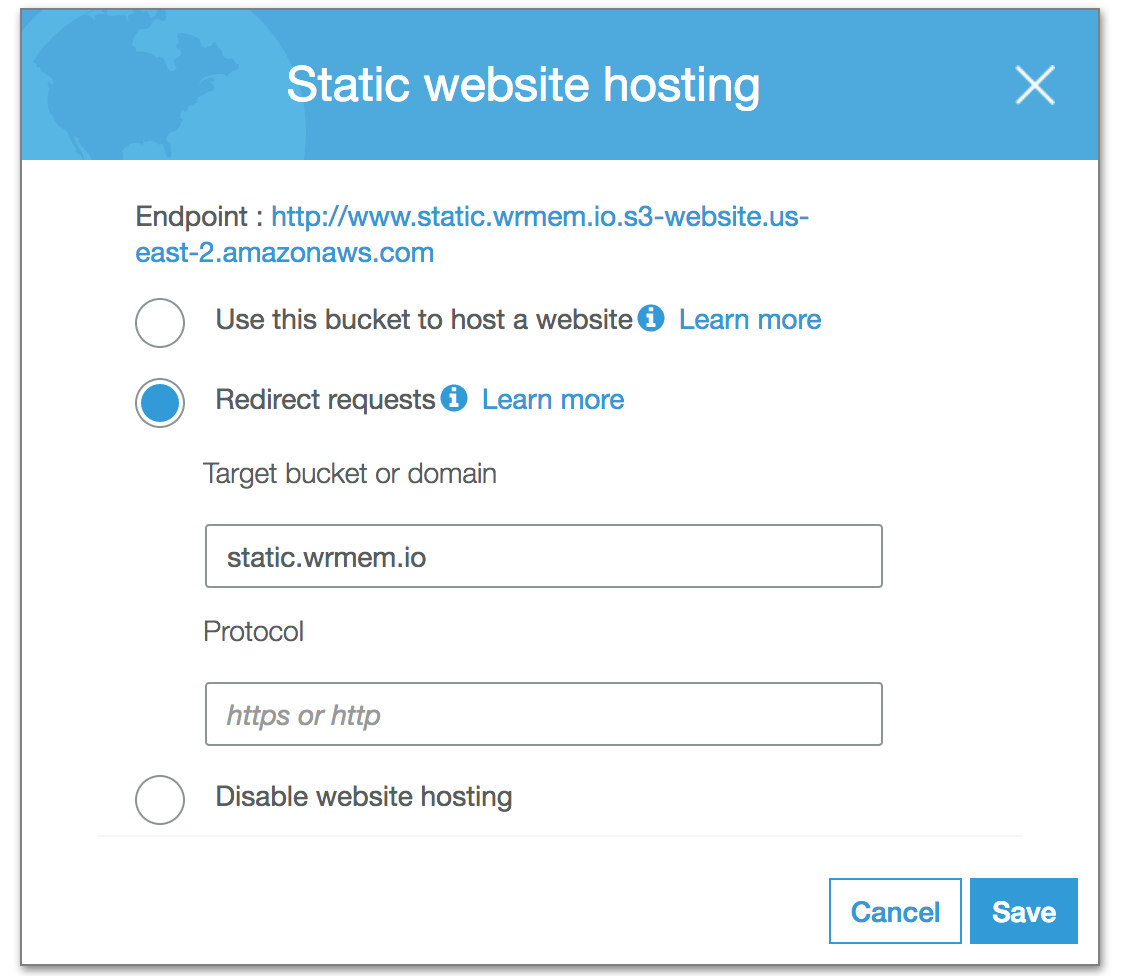
- Next we’ll need to setup our re-direct for the www. bucket.
- Enter the www.whatever bucket. Click Properties then find the Static Website Hosting option.
- Select Redirect requests and point it to the domain you want.
- All we need to do next is point our dns for static.wrmem.io to our bucket.
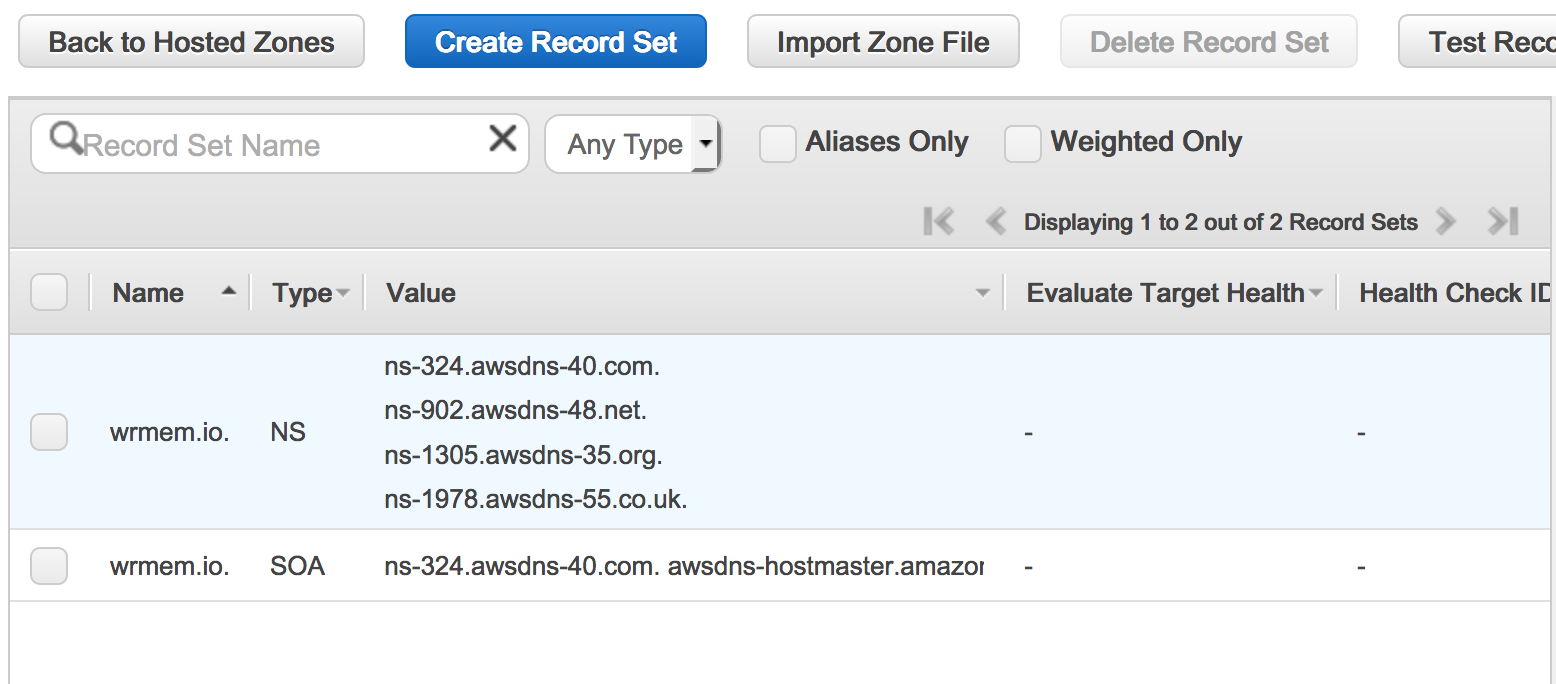
- Go to your Route 53 console and enter your hosted zones.
- Select the zone you want to edit.
- Click Create Record Set.
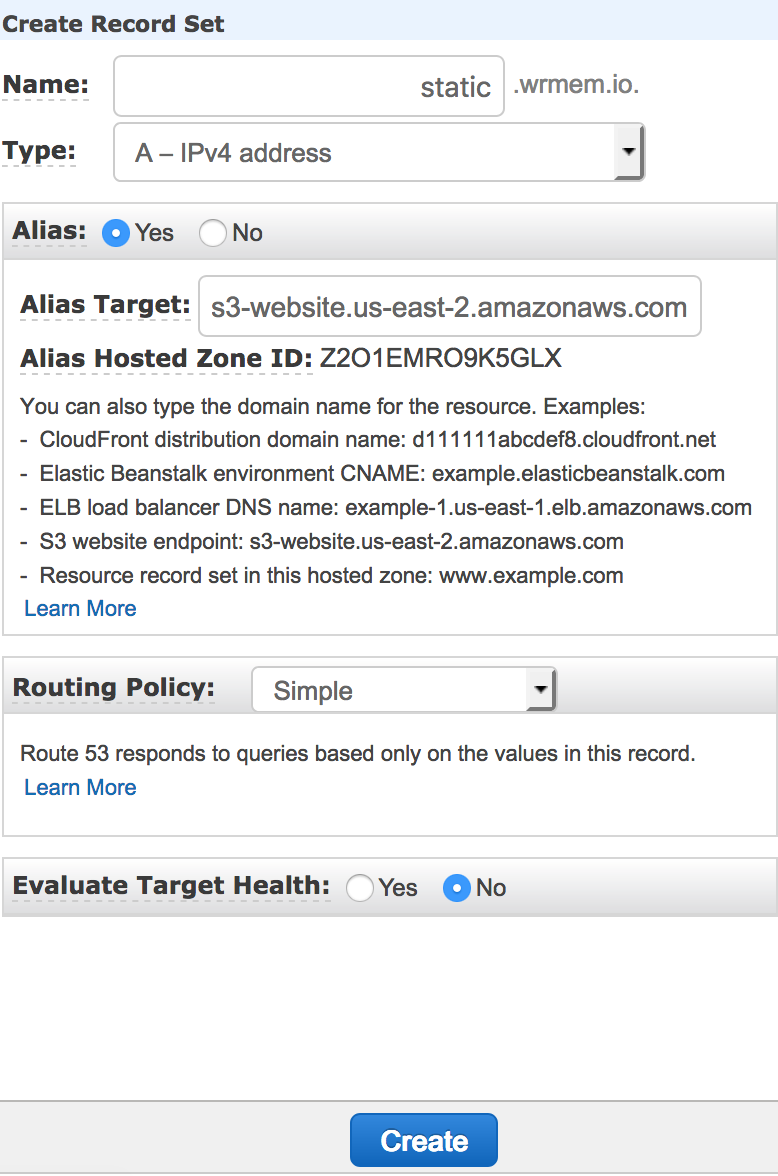
- For the name I entered static.wrmem.io, and the alias points to my S3 region. Click Create.
- After creating the dns record go ahead and test. For my configuration it’s simply navigating to http://static.wrmem.io/ in my browser.