Below are the steps to configure SIP integration between CUCM and Unity Connection. This is now the Cisco recommended best practice and replaces the legacy CTI Route Point configuration.
Create New SIP Trunk Security Profile
- In CUCM, navigate to System > Security > SIP Trunk Security Profile

- Click Add New
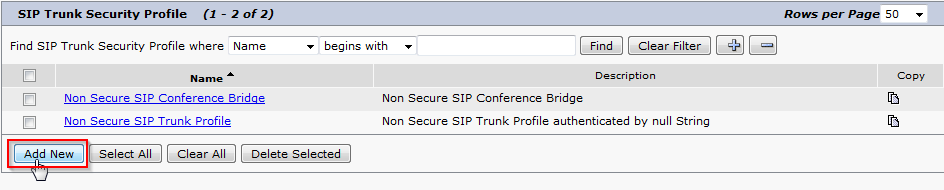
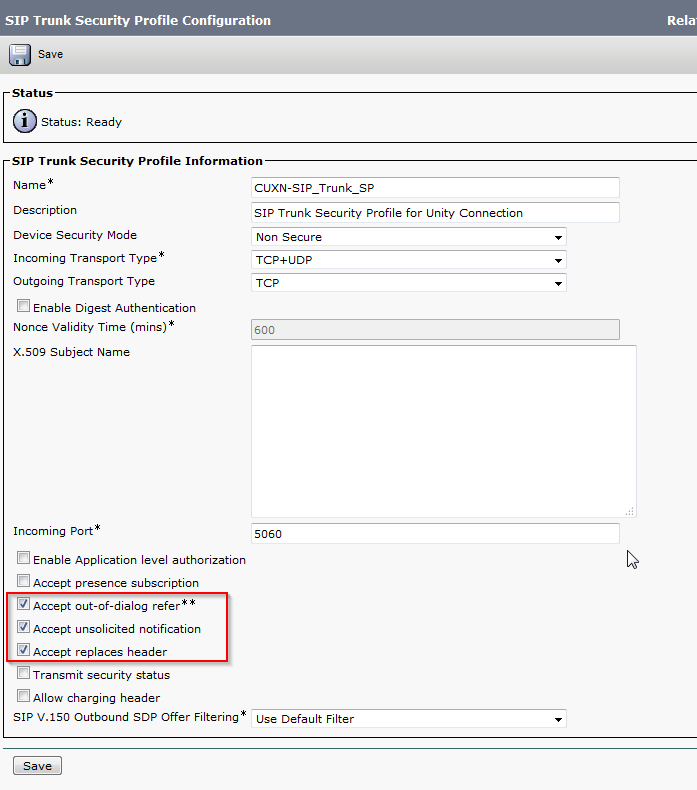
- Enter a Profile Name and Description, check Accept Out-of-Dialog REFER, Accept Unsolicited Notification, Accept Replaces Header. Click Save.
 Create a SIP Profile
- In CUCM, navigate to Device > Device Settings > SIP Profile
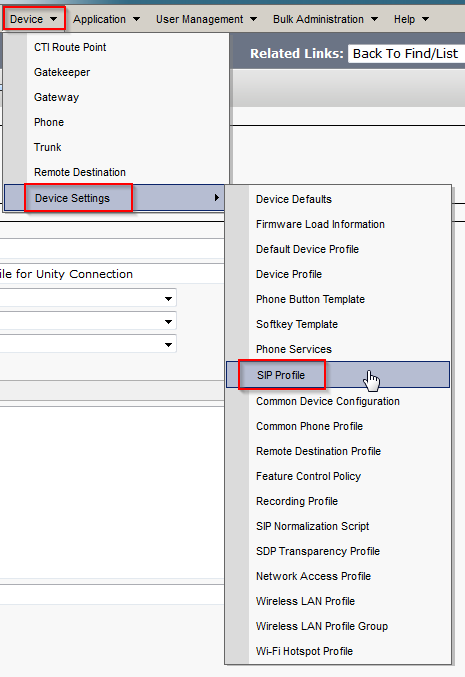
- To right of Standard SIP Profile click Copy.

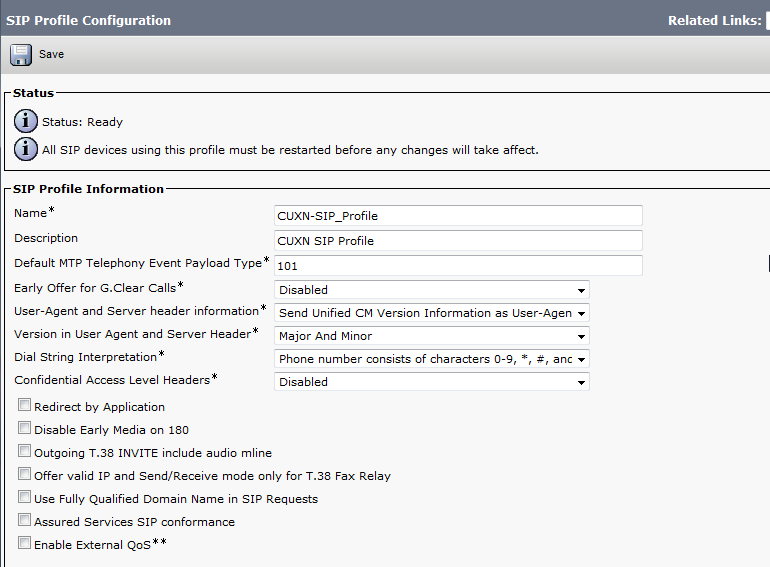
- Enter a Name and Description for the SIP Profile. I also like to enable SIP OPTIONS Ping, this will let you know if the SIP Trunk has been established, and for how long it has been up, on the Find and List Trunks page. Click Save when completed.
 Create SIP Trunk
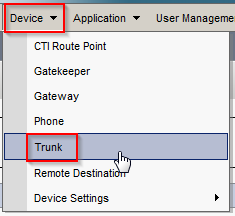
- In CUCM, navigate to Device > Trunk.
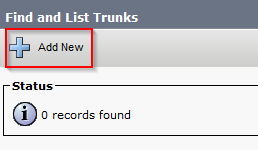
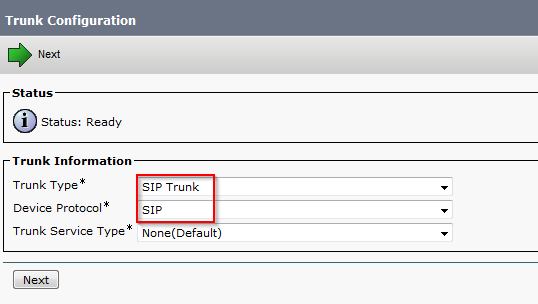
- Click Add New, select SIP Trunk and SIP from the drop down menus and click Next.
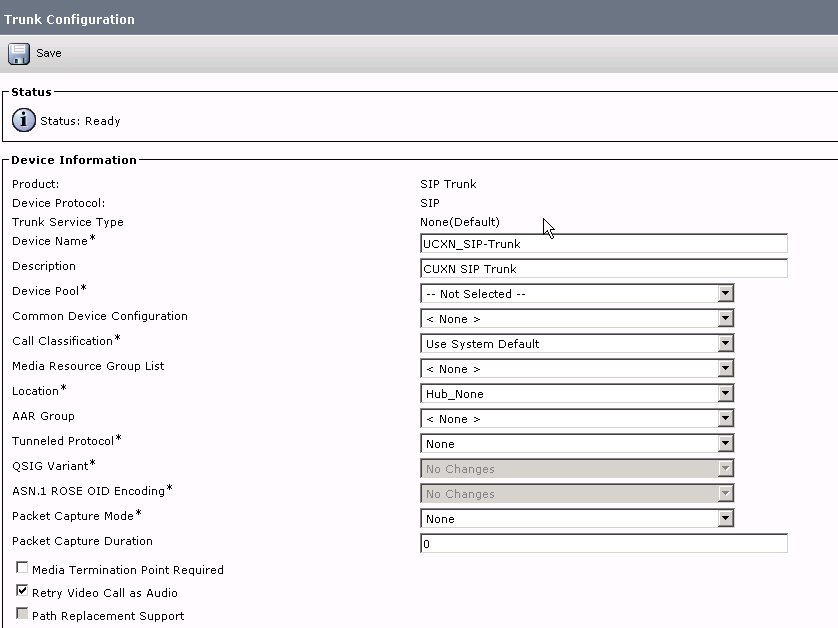
- Enter a Device Name and Description. Select the proper Device Pool for the Trunk. Check Run On All Active Unified CM Nodes.
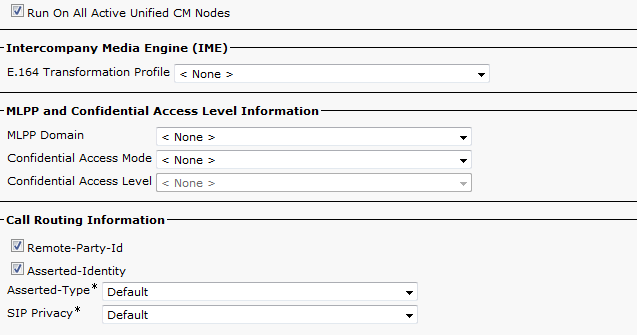
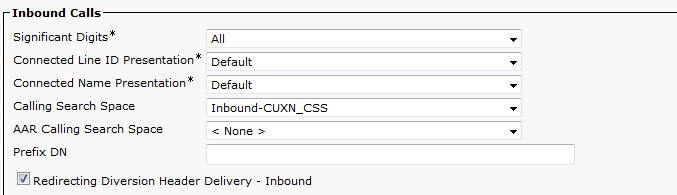
- Under Inbound Calls select the CSS for inbound CUXN if you have one and check Redirecting Diversion Header Delivery – Inbound.
- Under Outbound Calls, check Redirecting Diversion Header Delivery – Outbound
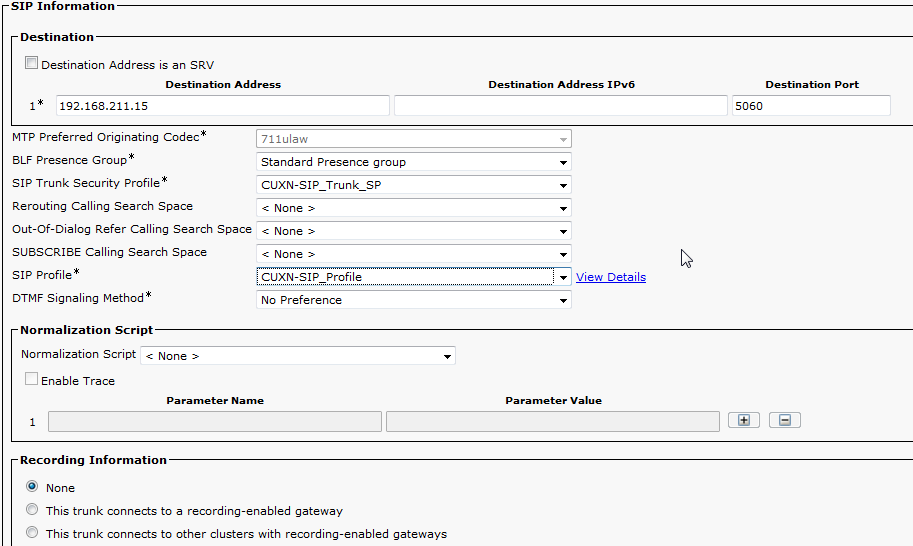
- Be sure to set a Rerouting Calling Search Space to ensure the calls can be transferred from Unity back to CUCM.
- Under SIP Information enter the Destination Address of the Unity Connection Publisher. This can be an IP address or DNS name. Change the SIP Trunk Security Profile to the new profile we made earlier. Change the SIP Profile to the profile we made earlier. Click Save.
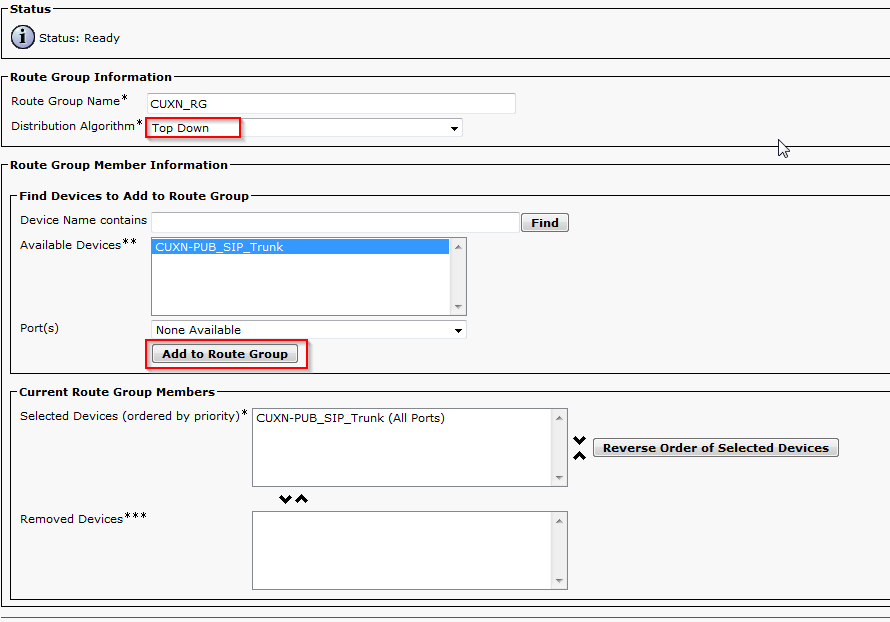
 Create Route Group
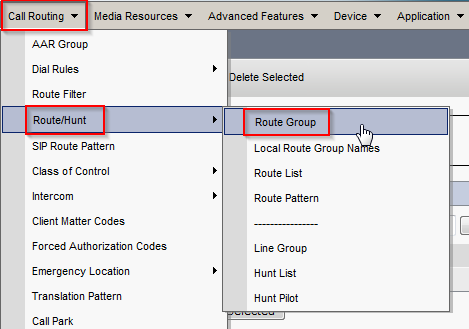
- In CUCM, navigate to Call Routing > Route/Hunt > Route Group. Click Add New.
- Enter a name for the Route Group, change Distribution Algorithm to Top Down. Find the newly created SIP trunk under Find Devices and click Add to Route Group. Click Save.
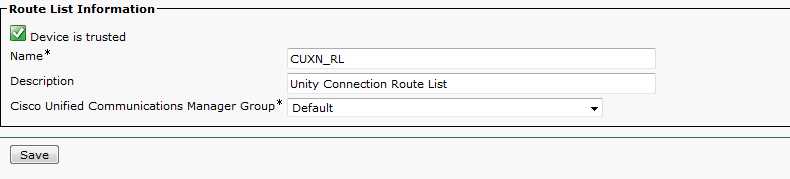
 Create Route List
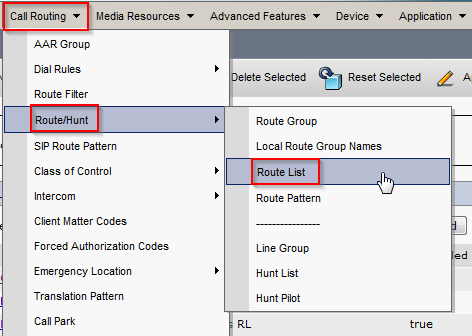
- In CUCM, navigate to Call Routing > Route/Hunt > Route List. Click Add New.
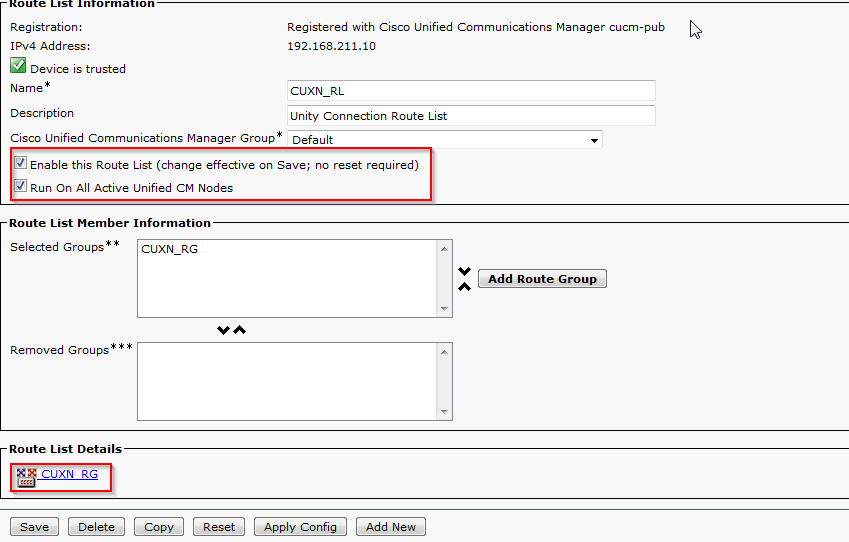
- Enter a name for the Route List and click Save.
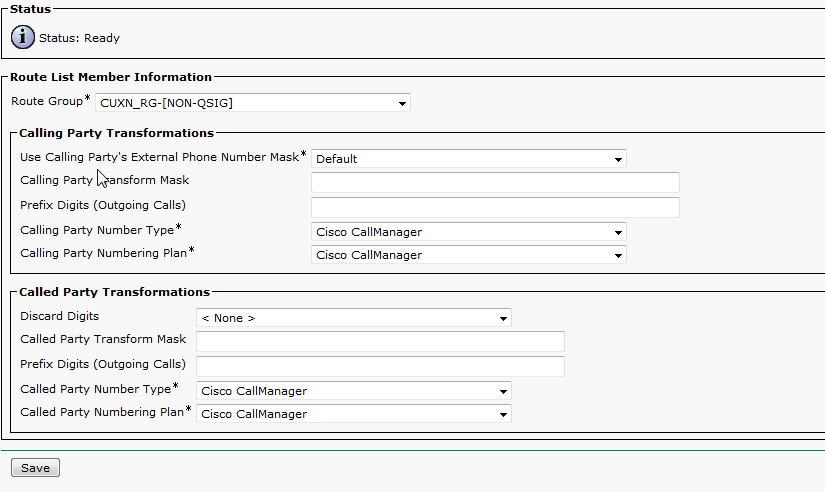
- Click Add Route Group. Select the previously configured Route Group from the drop down menu and click Save.
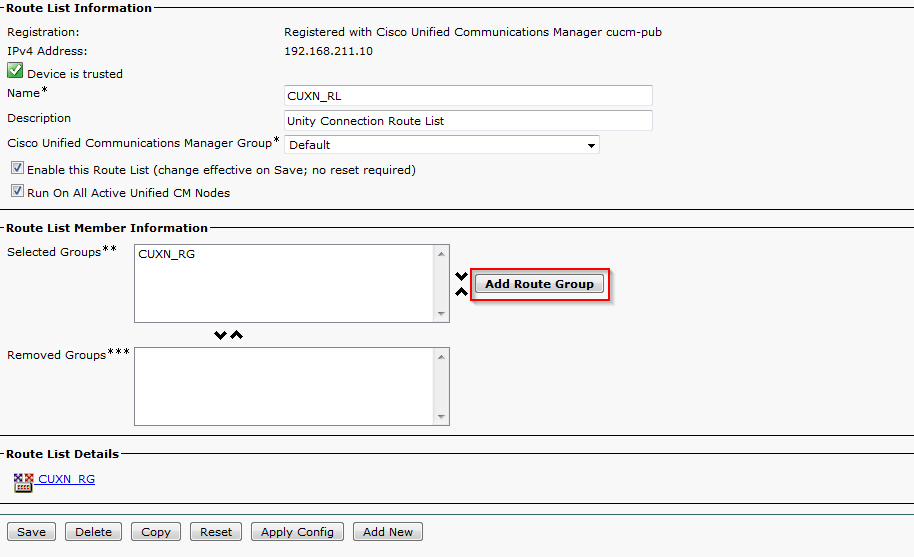
- Confirm that Enable This Route List and Run On All Active Unified CM Nodes are checked and that the correct Route List is displayed under Route List Details. Click Save.
 Create Route Pattern
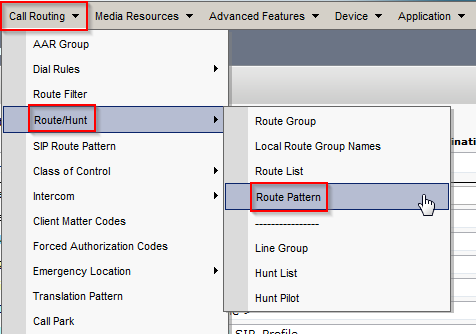
- In CUCM, navigate to Call Routing > Route/Hunt > Route Pattern. Click Add New.
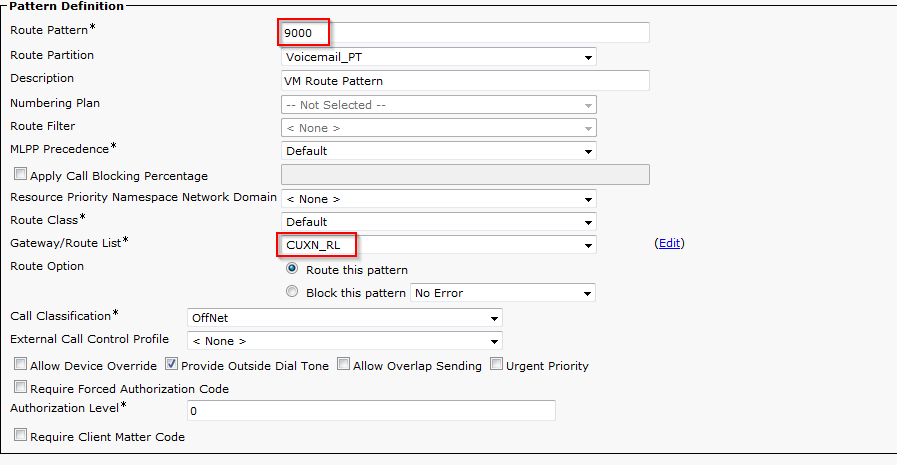
- Enter the voicemail pilot number you’d like to use under Route Pattern. Select the name of the Route List we configured earlier under Gateway/Route List. Click Save.
 Create Voice Mail Pilot
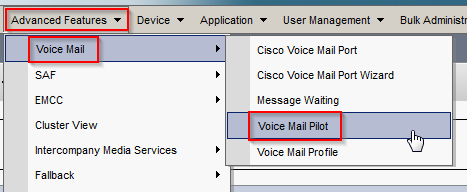
- In CUCM, navigate to Advanced Features > Voice Mail > Voice Mail Pilot. Click Add New.
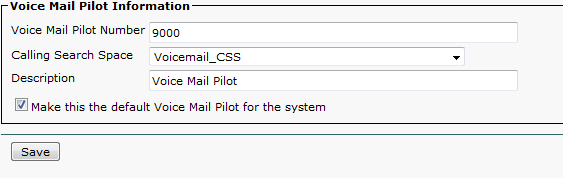
- Enter the Voice Mail Pilot number, this should match the Route Pattern we created earlier. Enter the Calling Search Space and Description, check Make this default… and click Save.
 Create Voice Mail Profile
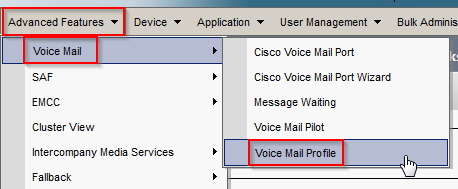
- In CUCM, navigate to Advanced Features > Voice Mail > Voice Mail Profile. Click Add New.
- Enter a Voice Mail Profile Name and Description. Select the Voice Mail Pilot configured earlier. Check Make this the default… if you want this profile to be the system default. Click Save.
 Configure Unity Connection
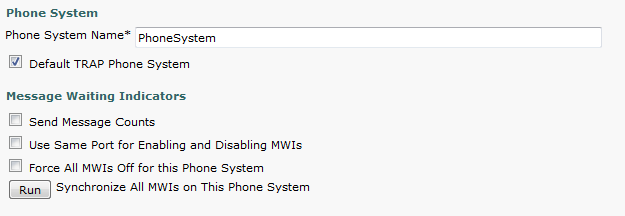
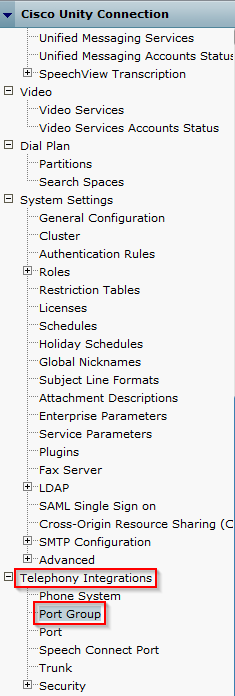
- In CUC, navigate to Telephony Integration and then click Phone System.

- Click the default phone system and make any changes you’d like such as the Phone System Name.
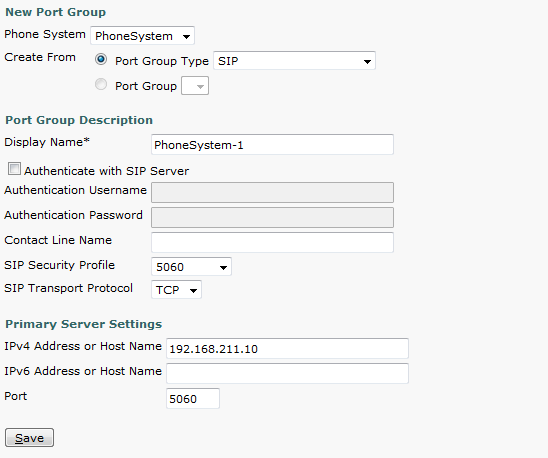
- At the top right of the Phone System Basics page look for Related Links. Select Add Port Group and click Go.

- Under Create From, change the Port Group Type to SIP from the drop down box. Give the Port Group a Display name. Under Primary Server settings enter the IP address of the CUCM server. Click Save.
- Under Related Links on the Port Group Basics page, select Add Ports and click Go.

- Enter the number of Ports and click Save.

- Navigate to the Port Group Basics by going to Telephony Integrations > Port Group > and click the newly created port group.
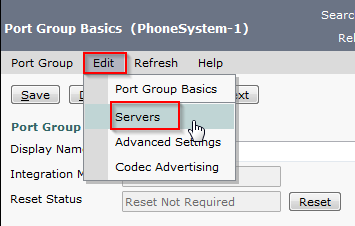
- Click Edit and select Servers.
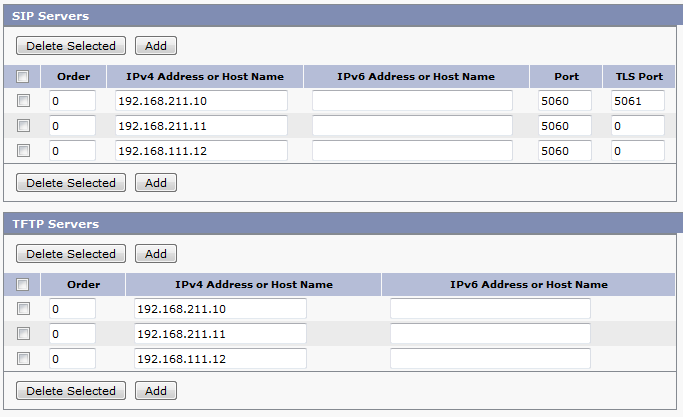
- If you need to add secondary CUCM servers enter them under SIP servers. Follow the same steps to add additional TFTP servers.
- Click Edit > Port Group Basics. Click Reset to reset the Port Group.

Test and Verify
This should be enough to configure basic SIP integration between CUCM and CUC. In CUCM you can navigate to Devices > Trunk and verify that the SIP trunk has been established. You can then test by dialing the voice mail pilot number and seeing if you hit Unity Connection.
