Installing a CA Signed Certificate in Cisco Prime Infrastructure 2.2

After following the Prime Infrastructure upgrade path to 2.2 you’ll need to re-issue CA signed certificates. Unfortunately, this can’t be accomplished from the Web GUI and will need to be done via the CLI.

Here’s Cisco’s documentation for installing CA-Signed Certificates and the steps I used to import a new certificate from our Active Directory Certificate Services server.

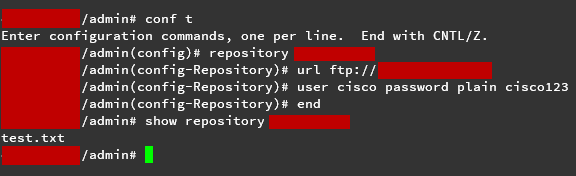
  • First you’ll want to SSH to your Prime Infrastructure server as well as create a FTP server on your workstation. See my previous blog post for instructions how to do so.
  • Generate a new CSR file and answer the information prompts
    • PIServer/admin# ncs key genkey -newdn -csr CSRFile .csr repository defaultRepo
    • The NCS server is running. Changes will take affect on the next server restart
      Enter the domain name of the server: (the fqdn you'll use to access prime from e.g., prime.company.org)
      Enter the name of your organizational unit:
      Enter the name of your organization:
      Enter the name of your city or locality:
      Enter the name of your state or province:
      Enter the two letter code for your country:
      Generating RSA key
  • Copy the CSR to your FTP server
    • PIServer/admin# copy disk: /defaultRepo/ CSRFile.csr ftp://your.ftp.server
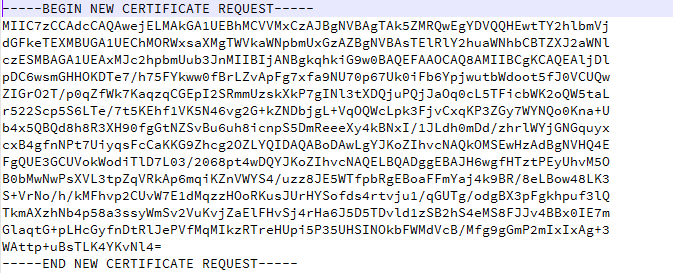
  • Open your CSR in a text editor, copying the text to your clipboard

pi-cert01

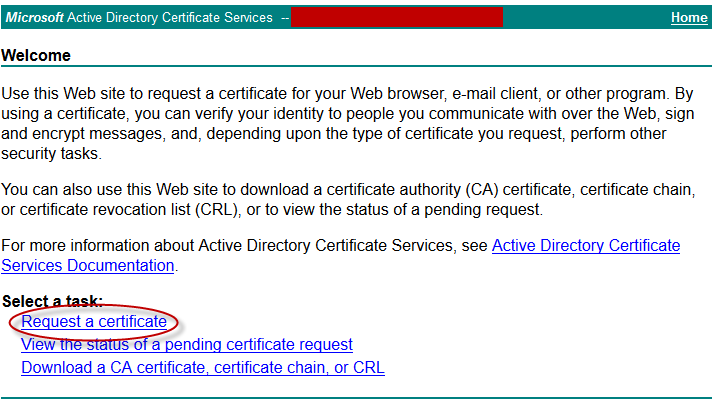
  • Navigate to your internal CA and click Request a certificate

pi-cert02

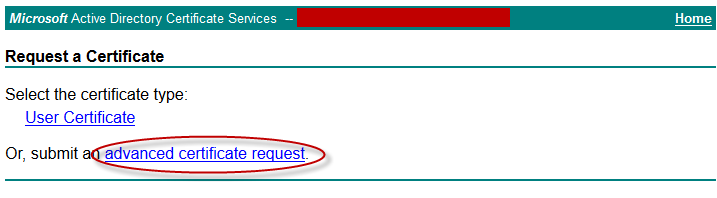
  • Click Submit an advanced certificate request

pi-cert03

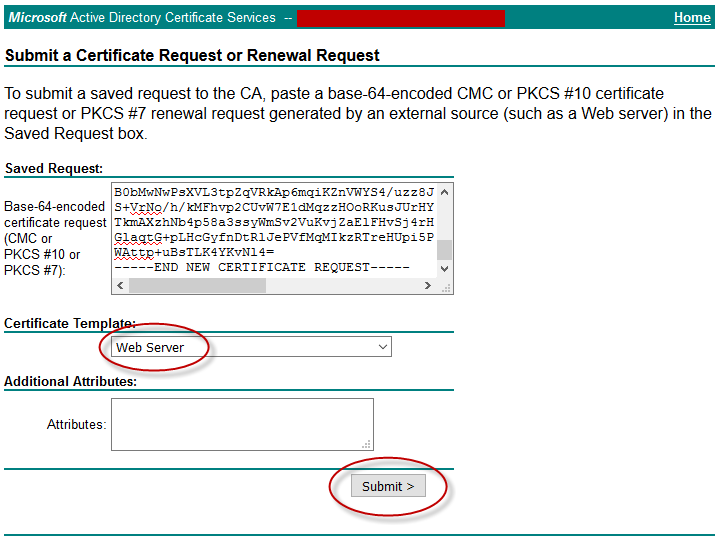
  • Under “Saved Request,”paste your certificate request output from earlier and select the Web Server certificate template. Click Submit

pi-cert04

  • Download your certificate and copy it to your FTP server directory

pi-cert05

  • Copy the certificate from the FTP server to the default repository
    • PIServer/admin# copy ftp://your.ftp.server/CertFile.cer disk:defaultRepo
  • Import the certificate into the Prime Infrastructure server
    • PIServer/admin# ncs key importsignedcert CertFile.cer repository defaultRepo
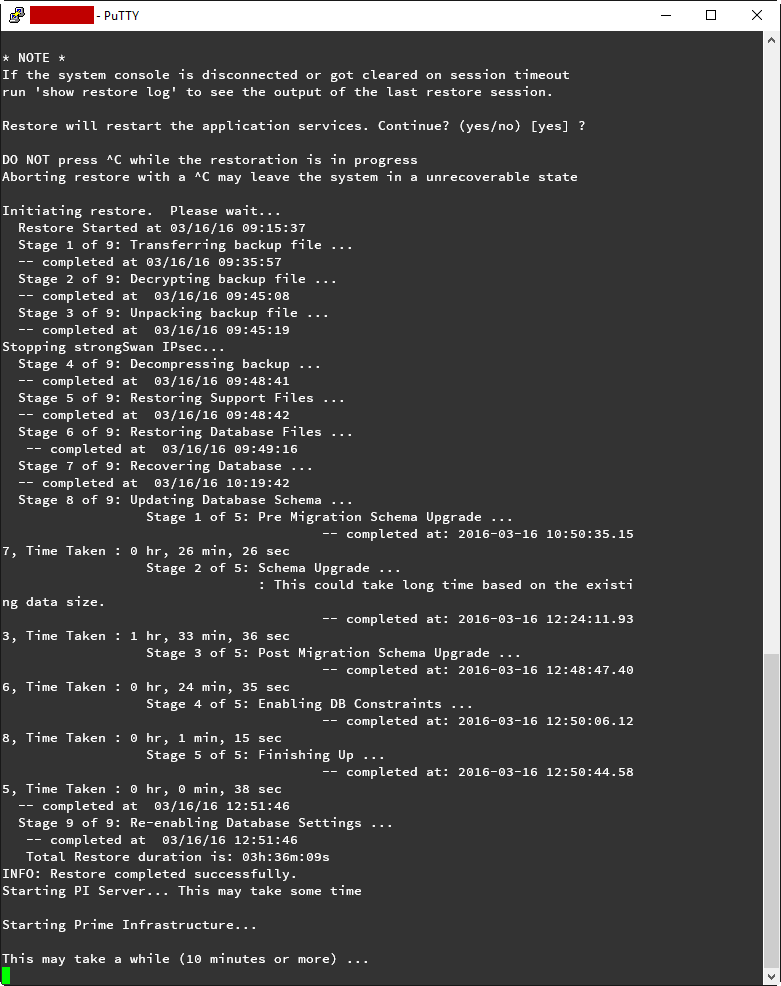
  • Restart Prime Infrastructure
    • ncs stop
    • ncs start
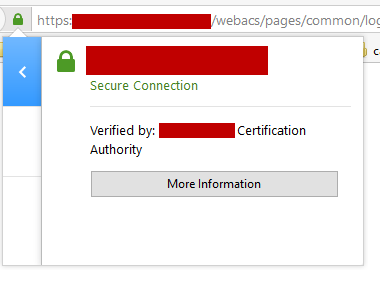
  • When the server comes back up, reload the web page and you should notice that the site is now trusted!

pi-cert07

Upgrading Cisco Prime Infrastructure 2.1 to 2.2

At the moment we’re running Cisco Prime Infrastructure 2.1 on a Gen1 physical appliance. We’re looking to take the upgrade path from 2.1 all the way up to 3.1 (currently only 3.0.2 is supported on the Gen1 appliance).

First stop, 2.2.

The Gen1 appliance upgrade path isn’t a fun one. It requires that we back up our current application database, wipe our appliance, do a bare-metal install of 2.2, and then restore our application database. Cisco’s documentation for application backup and restore can be found here: http://www.cisco.com/c/en/us/td/docs/net_mgmt/prime/infrastructure/2-2/administrator/guide/PIAdminBook/backup_restore.html#72460


Step one

Back up the PI application database to an FTP repository (I recommend FileZilla Server for hosting a light-weight FTP server on your workstation).

  • Create a ftp repository on your Prime Infrastructure server via CLI
    • SSH to PI
    • conf t
    • repository NAME
    • url ftp://x.x.x.x
    • user username password plain password
  • Verify your repository configuration
    • show repository NAME

pi2-1

  • Backup your Prime Infrastructure application
    • backup backup-name repository repository-name application NCS


Step two

Install Prime Infrastructure 2.2

Reboot your appliance from the PI 2.2 installation media and follow the on-screen configuration prompts. For more information follow Cisco’s Installation Guide

pi2-5


Step three

Restore your application database

  • SSH to the Prime Infrastructure server and setup your ftp repository again
    • conf t
    • repository NAME
    • url ftp://x.x.x.x
    • user username password plain password
  • Verify your repository configuration, and check that your backup is there
    • show repository NAME

pi2-1pi2-3

  • Run the restore command, taking note of the scary warnings
    • restore BACKUP_NAME.tar.gpg repository REPOSITORY_NAME application NCS

pi2-6

pi2-7