Installing Telnet on Mac OS High Sierra with Homebrew

I was both sad and excited to see that Apple removed telnet from Mac OS High Sierra, excited because telnet is a nearly 40 year old protocol that is highly insecure for network management and saddened because I often have to use telnet when at client sites.

There are a few different methods you can use to bring back telnet, including copying over the binaries from a Sierra install to /usr/local/bin (as seen here)  or using a session manager like SecureCRT, but since I’ve been using Homebrew to manage a few other packages for a while now I figured I’d just go ahead and use that.

  • First install Homebrew from your terminal (warning: please don’t copy and paste code snippets from a web browser straight into your terminal, please double check your sources)
    • https://brew.sh/
    • /usr/bin/ruby -e "$(curl -fsSL https://raw.githubusercontent.com/Homebrew/install/master/install)"
  • Run
    brew install telnet
==> Downloading https://homebrew.bintray.com/bottles/telnet-54.50.1.high_sierra.
Already downloaded: /Users/me/Library/Caches/Homebrew/telnet-54.50.1.high_sierra.bottle.1.tar.gz
==> Pouring telnet-54.50.1.high_sierra.bottle.1.tar.gz
🍺  /usr/local/Cellar/telnet/54.50.1: 4 files, 246KB

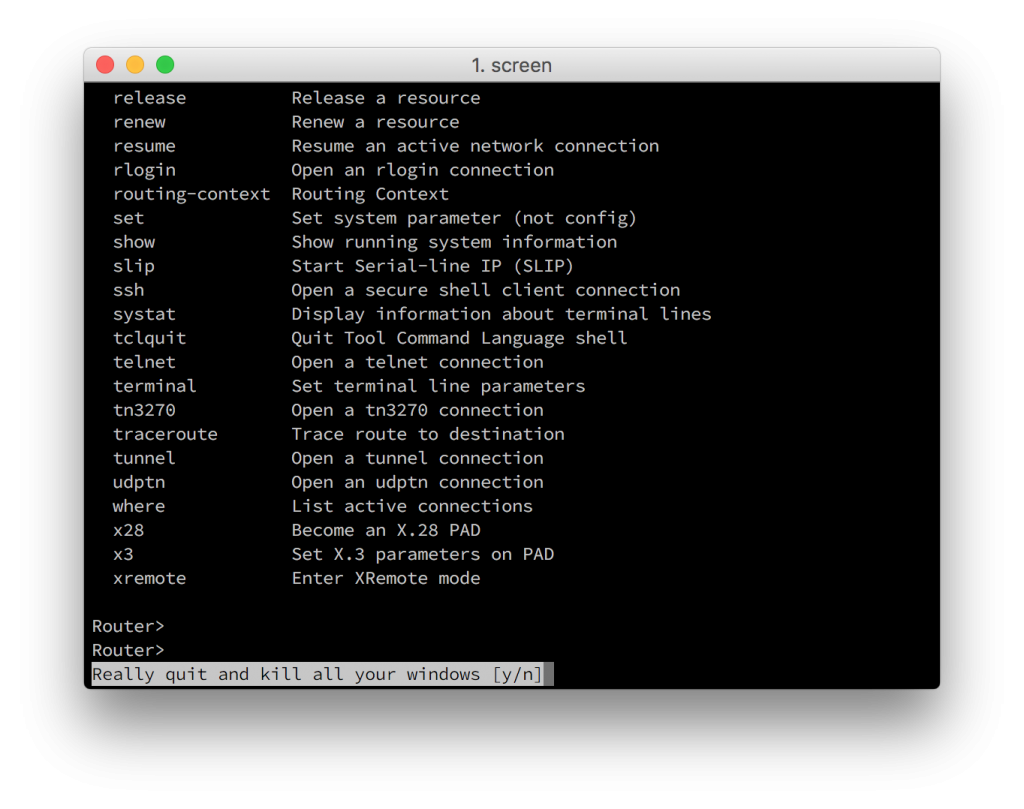
There you have it. Run telnet by simply issuing the telnet command and the ip/port you want to connect to.

telnet towel.blinkenlights.nl


Using the Built in TFTP Server on OS X El Capitan

On Windows I love the lightweight and open source TFTPD32, but there may come a time when you find youself needing to transfer some files and all you have is your trusty mac.

Luckily there’s a built in tftp daemon that you can use in a pinch.

By default tftpd uses the following folder:

/private/tftpboot

which is hidden in finder, but can be accessed by using “go to folder” or hitting Command+Shift+G and entering /private/tftpboot

osxtftp01

To launch the daemon run the following commands:

sudo launchctl load -F /System/Library/LaunchDaemons/tftp.plist
sudo launchctl start com.apple.tftpd

Be sure Read/Write/eXecute permissions are set on the tftpboot folder and any files you wish to transfer:

sudo chmod 777 /private/tftpboot
sudo chmod 777 /private/tftpboot/*

If you’ll be transferring a file TO your TFTP server, the file will technically need to exist on the server beforehand so create it with touch. For example:

sudo touch /private/tftpboot/running-config
sudo chmod 777 /private/tftpboot/running-config

If you’d like a graphical front end for launching tftp then check out the great TftpServer.

osxftp03

Now go ahead and get transferring.

osxtftp02

USB Serial Console Cable on OS X

Recently picked up a new usb cable for connecting to my network devices and needed a refresher on connecting to the console.

After installing device drivers (if necessary) and connecting the cable to your mac, open up a terminal and list the contents of your dev directory, filtering for devices with usb in their name.

ls /dev/*usb*

Find the proper tty device and use screen to open a connection on the port. You can specify the speed of 9600 but screen will use that value by default.

screen /dev/tty.usbmodem1421 9600

usbtty01

You should now find yourself on the console of your network device. To quit screen hold control-a and then hit \

usbtty02

usbtty