Configuring SIP Integration Between CUCM and Unity Connection

Below are the steps to configure SIP integration between CUCM and Unity Connection. This is now the Cisco recommended best practice and replaces the legacy CTI Route Point configuration.

Create New SIP Trunk Security Profile

  • In CUCM, navigate to System > Security > SIP Trunk Security Profile

  • Click Add New

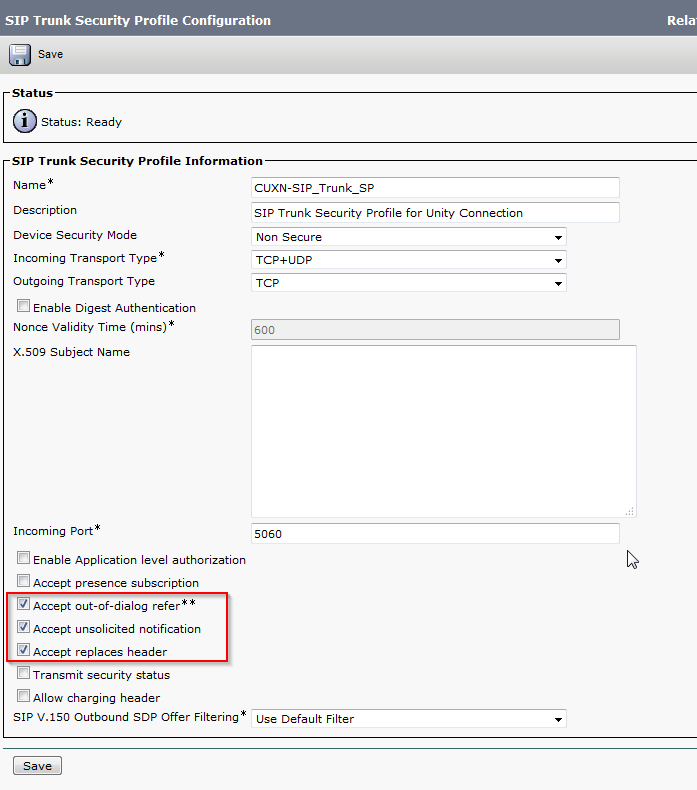
  • Enter a Profile Name and Description, check Accept Out-of-Dialog REFER, Accept Unsolicited Notification, Accept Replaces Header. Click Save.
Create a SIP Profile

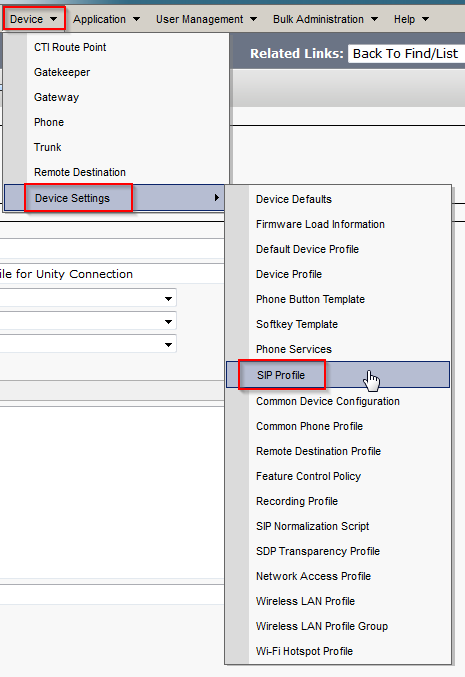
  • In CUCM, navigate to Device > Device Settings > SIP Profile

  • To right of Standard SIP Profile click Copy.

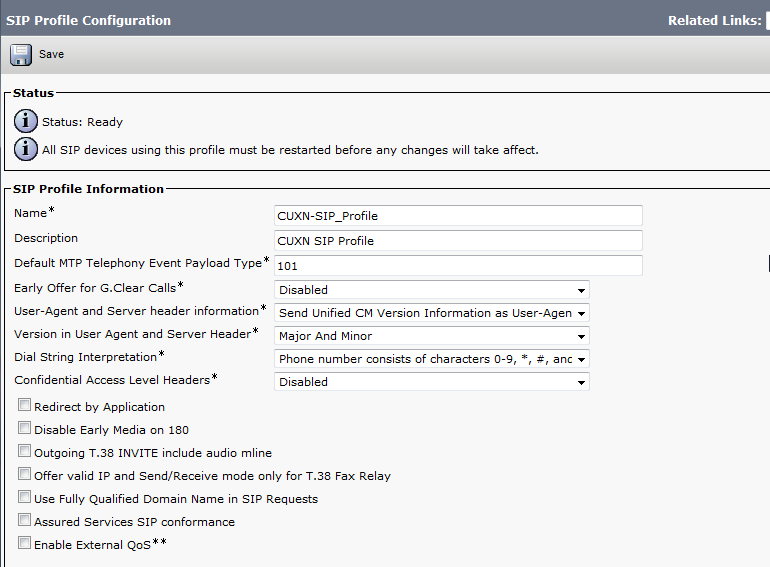
  • Enter a Name and Description for the SIP Profile. I also like to enable SIP OPTIONS Ping, this will let you know if the SIP Trunk has been established, and for how long it has been up, on the Find and List Trunks page. Click Save when completed.
Create SIP Trunk

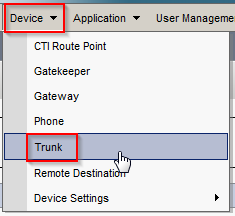
  • In CUCM, navigate to Device > Trunk.

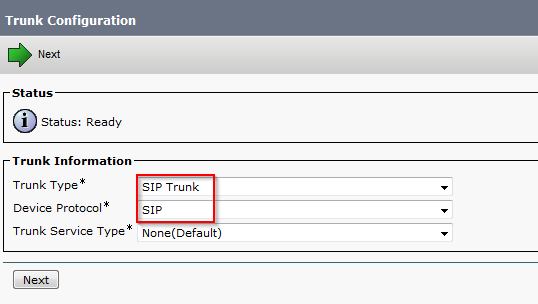
  • Click Add New, select SIP Trunk and SIP from the drop down menus and click Next.

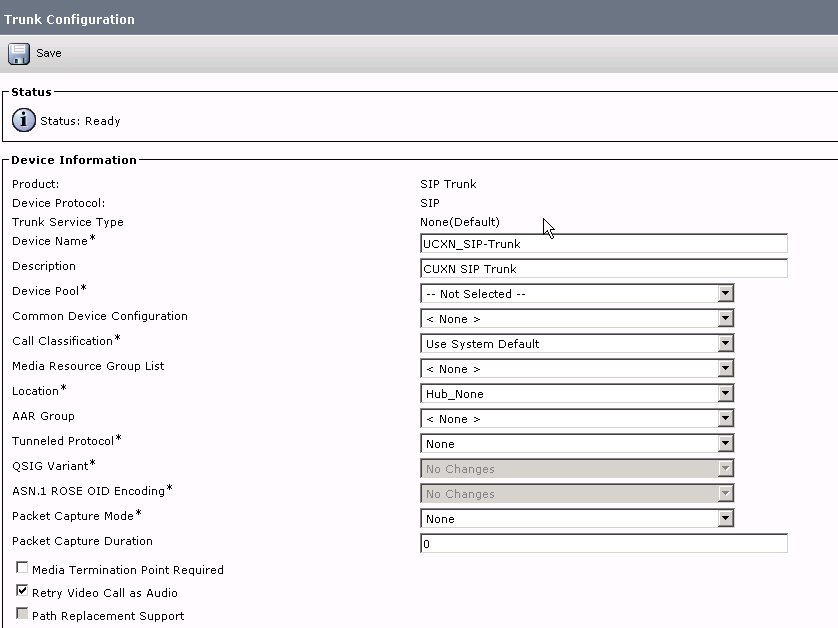
  • Enter a Device Name and Description. Select the proper Device Pool for the Trunk. Check Run On All Active Unified CM Nodes.

  • Under Inbound Calls select the CSS for inbound CUXN if you have one and check Redirecting Diversion Header Delivery – Inbound.

  • Under Outbound Calls, check Redirecting Diversion Header Delivery – Outbound
  • Be sure to set a Rerouting Calling Search Space to ensure the calls can be transferred from Unity back to CUCM.
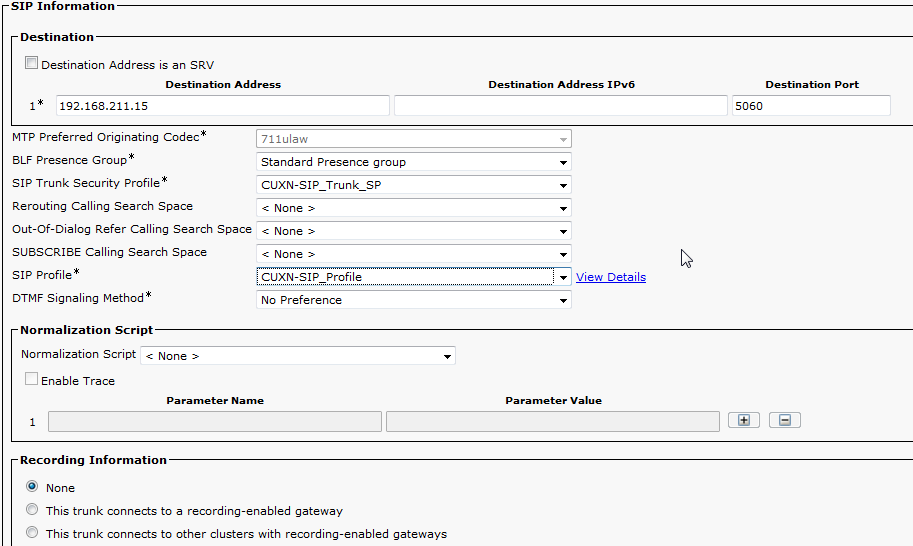
  • Under SIP Information enter the Destination Address of the Unity Connection Publisher. This can be an IP address or DNS name. Change the SIP Trunk Security Profile to the new profile we made earlier. Change the SIP Profile to the profile we made earlier. Click Save.
Create Route Group

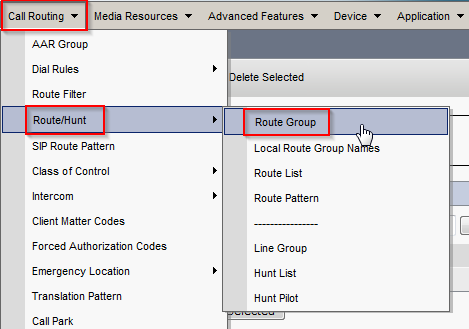
  • In CUCM, navigate to Call Routing > Route/Hunt > Route Group. Click Add New.

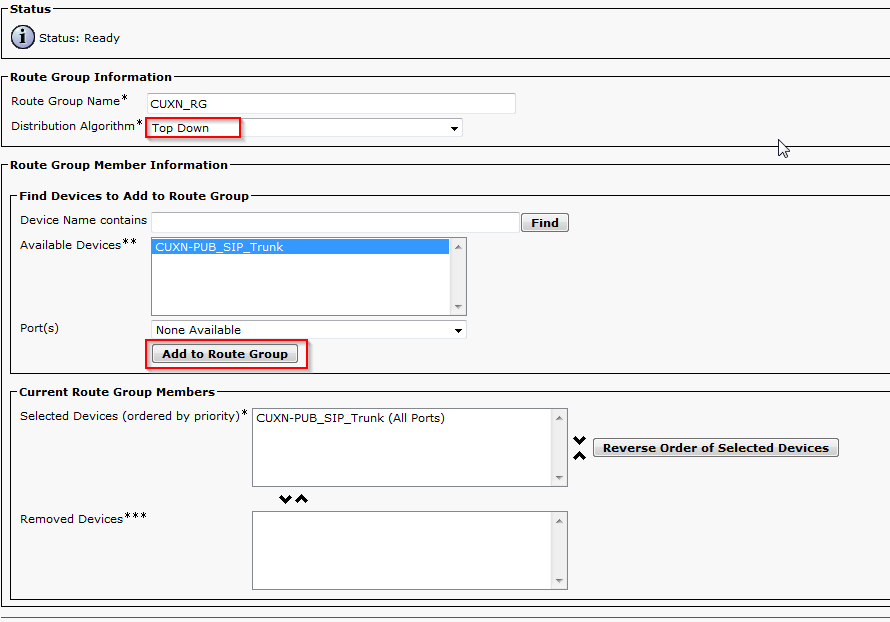
  • Enter a name for the Route Group, change Distribution Algorithm to Top Down. Find the newly created SIP trunk under Find Devices and click Add to Route Group. Click Save.
Create Route List

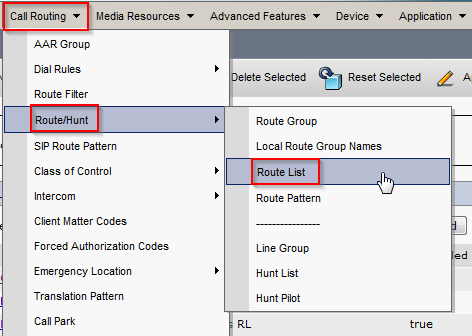
  • In CUCM, navigate to Call Routing > Route/Hunt > Route List. Click Add New.

  • Enter a name for the Route List and click Save.

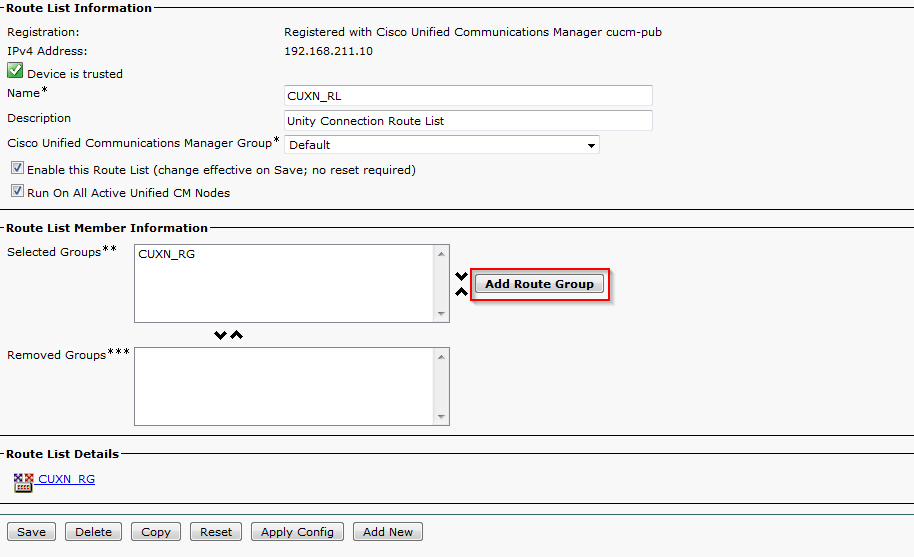
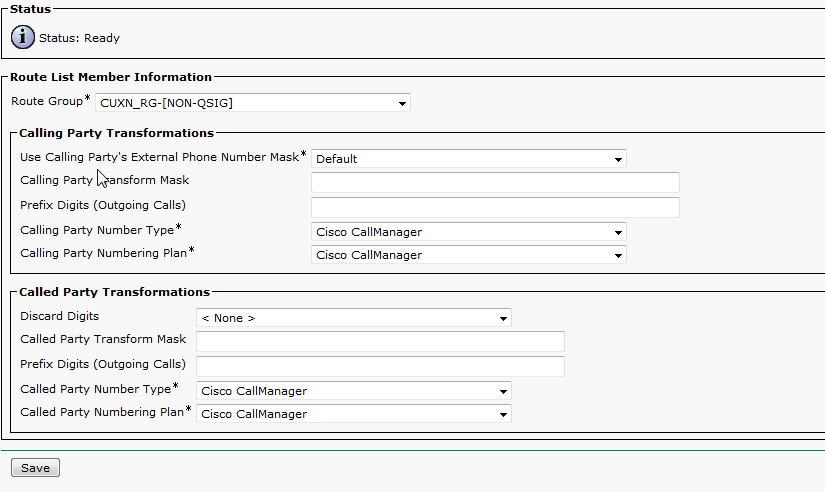
  • Click Add Route Group. Select the previously configured Route Group from the drop down menu and click Save.

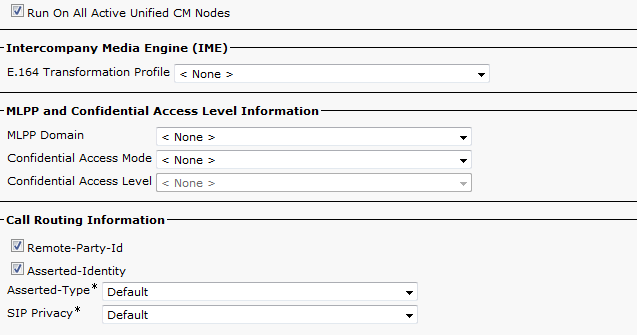
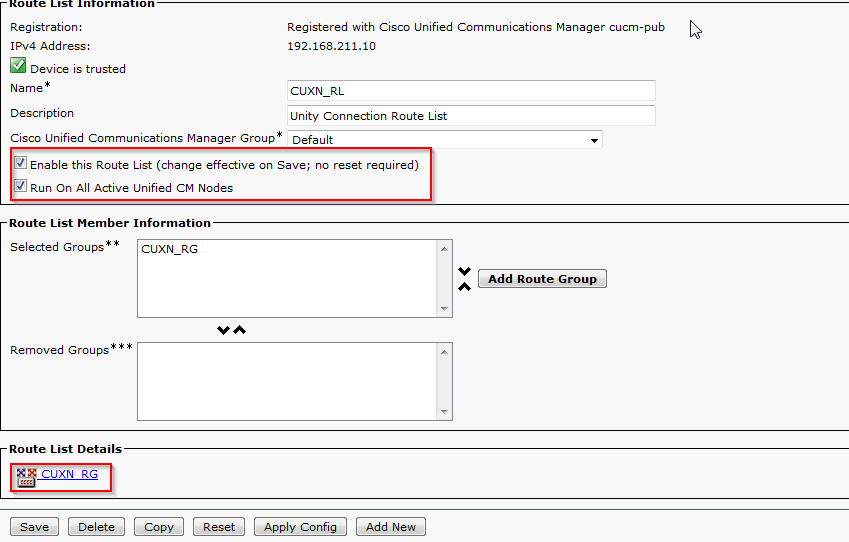
  • Confirm that Enable This Route List and Run On All Active Unified CM Nodes are checked and that the correct Route List is displayed under Route List Details. Click Save.
Create Route Pattern

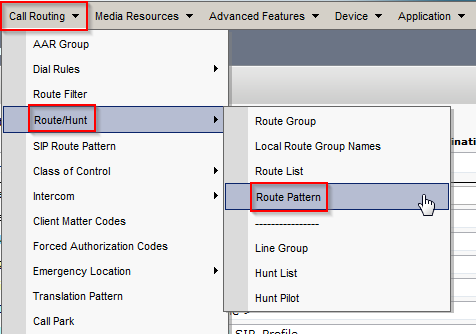
  • In CUCM, navigate to Call Routing > Route/Hunt > Route Pattern. Click Add New.

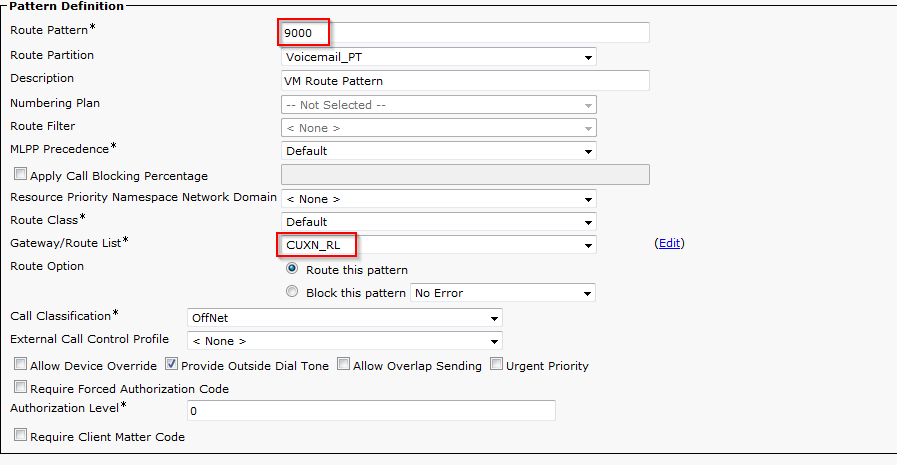
  • Enter the voicemail pilot number you’d like to use under Route Pattern. Select the name of the Route List we configured earlier under Gateway/Route List. Click Save.
Create Voice Mail Pilot

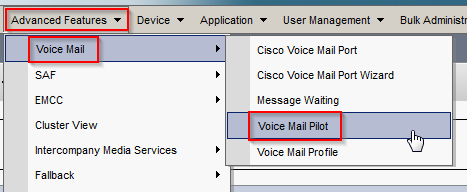
  • In CUCM, navigate to Advanced Features > Voice Mail > Voice Mail Pilot. Click Add New.

  • Enter the Voice Mail Pilot number, this should match the Route Pattern we created earlier. Enter the Calling Search Space and Description, check Make this default… and click Save.

Create Voice Mail Profile

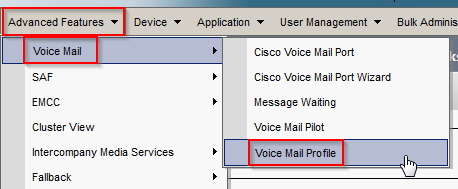
  • In CUCM, navigate to Advanced Features > Voice Mail > Voice Mail Profile. Click Add New.

  • Enter a Voice Mail Profile Name and Description. Select the Voice Mail Pilot configured earlier. Check Make this the default… if you want this profile to be the system default. Click Save.

Configure Unity Connection

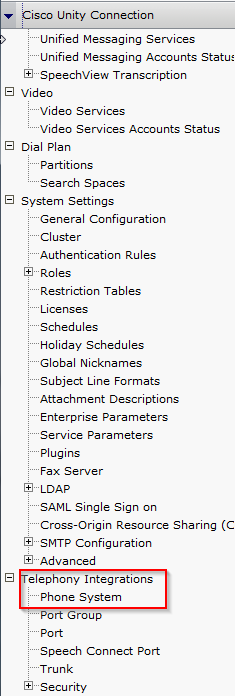
  • In CUC, navigate to Telephony Integration and then click Phone System.


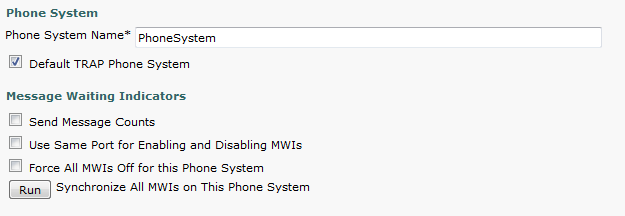
  • Click the default phone system and make any changes you’d like such as the Phone System Name.

  • At the top right of the Phone System Basics page look for Related Links. Select Add Port Group and click Go.

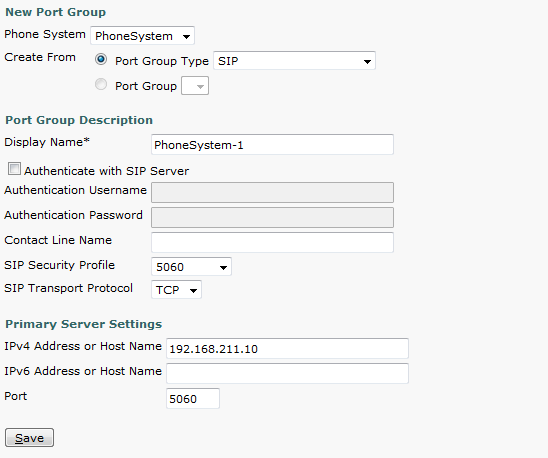
  • Under Create From, change the Port Group Type to SIP from the drop down box. Give the Port Group a Display name. Under Primary Server settings enter the IP address of the CUCM server. Click Save.

  • Under Related Links on the Port Group Basics page, select Add Ports and click Go.

  • Enter the number of Ports and click Save.

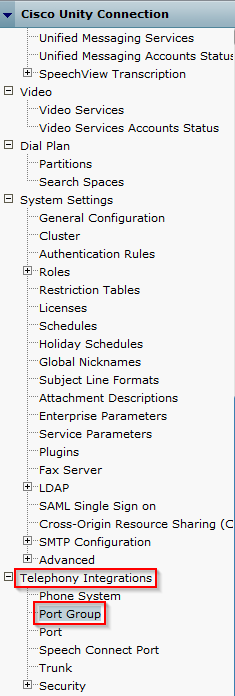
  • Navigate to the Port Group Basics by going to Telephony Integrations > Port Group > and click the newly created port group.

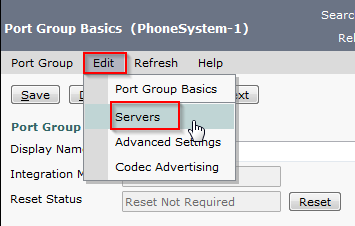
  • Click Edit and select Servers.

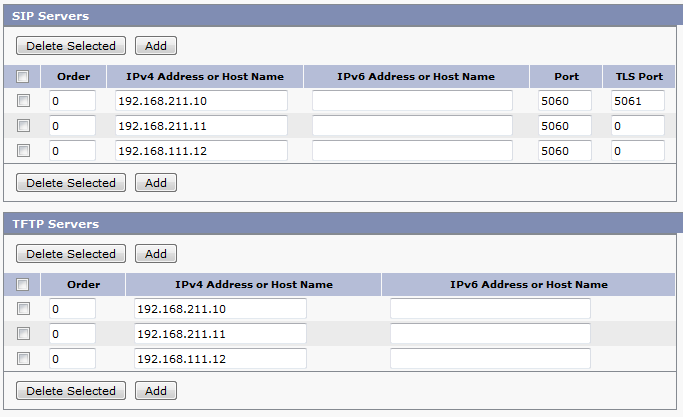
  • If you need to add secondary CUCM servers enter them under SIP servers. Follow the same steps to add additional TFTP servers.

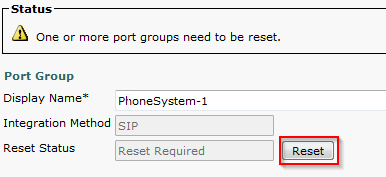
  • Click Edit > Port Group Basics. Click Reset to reset the Port Group.

Test and Verify

This should be enough to configure basic SIP integration between CUCM and CUC. In CUCM you can navigate to Devices > Trunk and verify that the SIP trunk has been established. You can then test by dialing the voice mail pilot number and seeing if you hit Unity Connection.


Upgrading Cisco Emergency Responder 8.6 to 10.5 (Physical to Virtual)

I was recently tasked with upgrading Cisco Emergency Responder 8.6 to 10.5. The 8.6 install just so happened to be on a physical IBM MCS server so I thought I’d document the steps of upgrading a physical install of CER 8.6 to a virtual CER 10.5 install, along with the software used to complete the upgrade.

  • Log in to Disaster Recovery System by selecting it from the drop down box located on the top right of the CER login page and clicking Go.

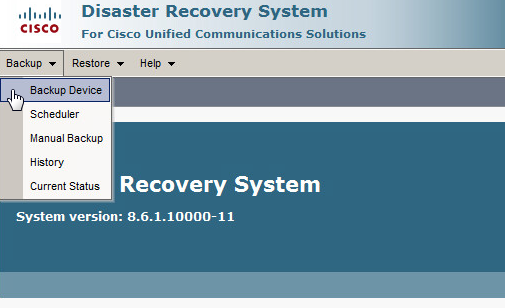
  • Select the Backup Menu and then navigate to Backup Device.

DRS uses SFTP to securely transport the backup records. If you have a SFTP server already setup in your environment you can use that to create a manual up-to-date back up. For this upgrade, a SFTP server was unavailable so I had to use my laptop as the back up device. The software I used to accomplish this task was freeSSHd. These next steps are an overview on how to configure freeSSHd as a backup device for DRS.

  • Open freeSSHd and click the Users tab and then click Add to configure a backup user.

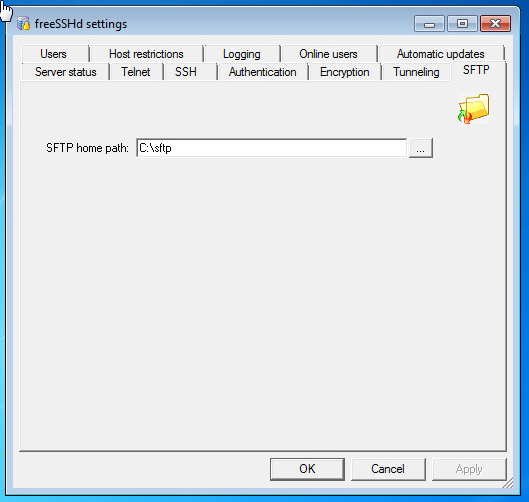
  • Click the SFTP tab and set the SFTP home path, the directory where the backup files will be stored.

Now that freeSSHd is configured we can go back to DRS and configure the Backup Device.

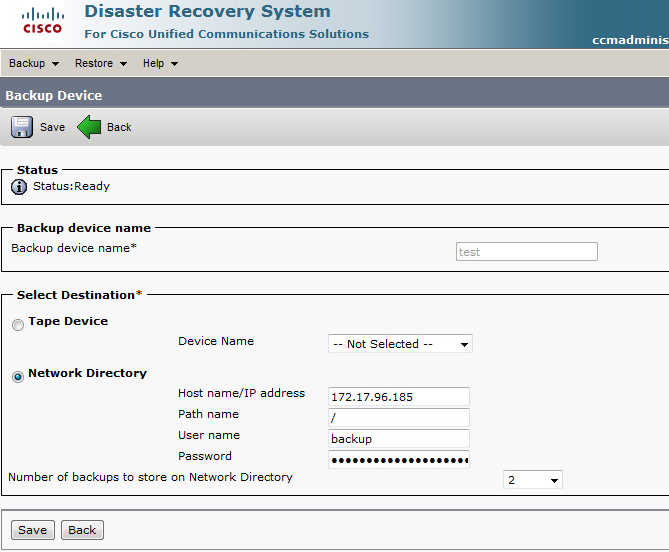
  • Give the Backup device a name, IP, path, and the username and password you configured in freeSSHd.

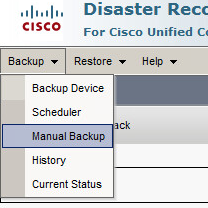
  • Once the backup device is configured click the Backup menu and select Manual Backup.

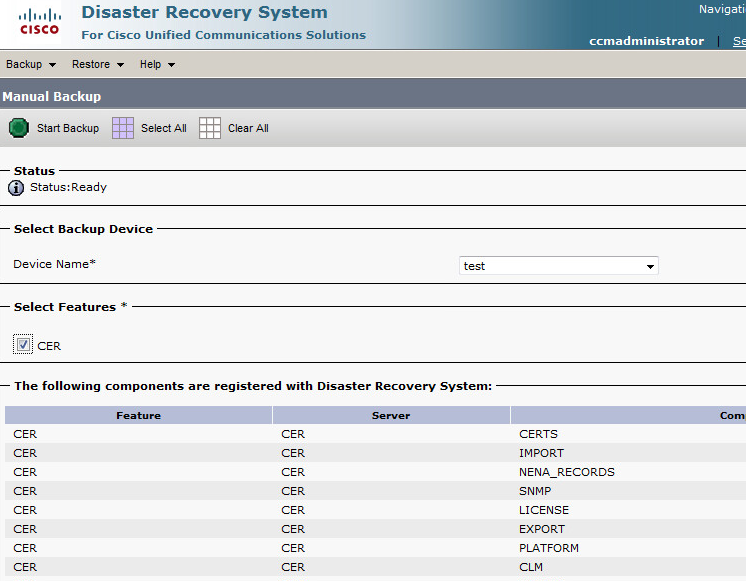
  • Select the device you configured and click CER to back up all registered CER components.

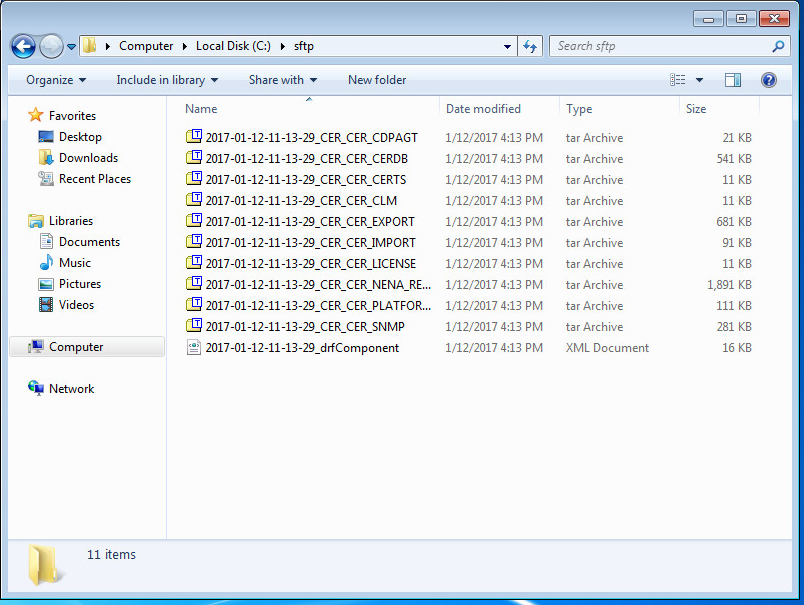
  • Click Start Backup, if everything is configured successfully you should see the progress bar advance and a number of tar archives will now be in your SFTP directory.

With a backup of the existing physical 8.6 install in place, we can now migrate to a virtual install of CER 8.6. The vmware ova and install media for CER 8.6 are unfortunately not on the Cisco downloads page. However, if you open a TAC case for assistance with a P2V migration, Cisco will make the download available to you.

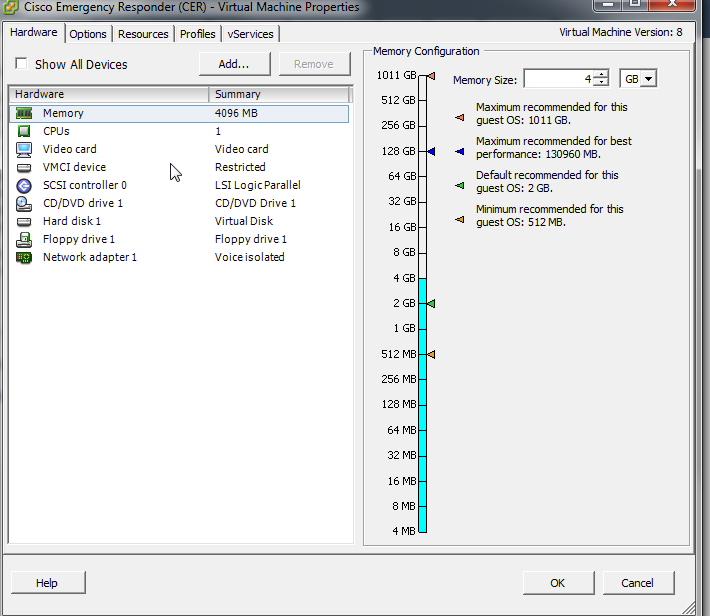
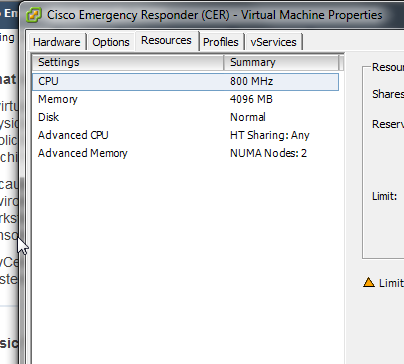
After you import the 8.6 ova you may also want to adjust the virtual machine properties so that CER 10.5 will be supported without issues. Increasing the memory to 4 GB, increasing the CPU resources, etc.

Follow the on screen instructions to complete the basic CER install (if you want re-IP CER, now would be the time to do that, or if you want to keep the same IP address please be sure that the virtual CER is on an isolated network). Once completed head to the web interface and select Disaster Recovery System.

  • Create your backup device on the by going to Backup > Backup Device.

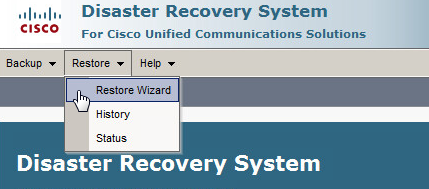
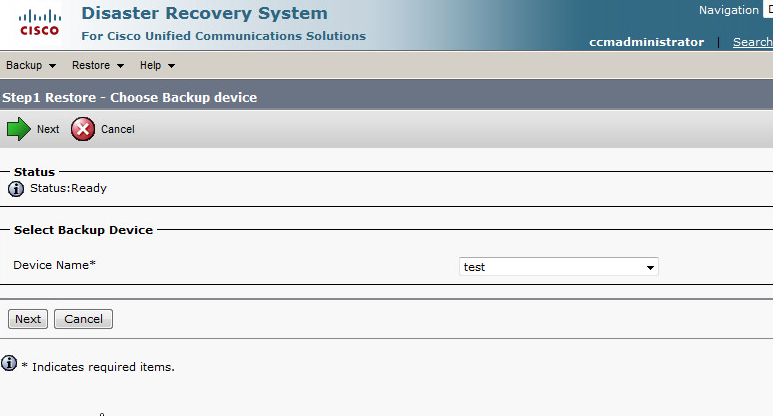
  • Go to the Restore menu and select Restore Wizard.

  • Select your Backup Device and click next.

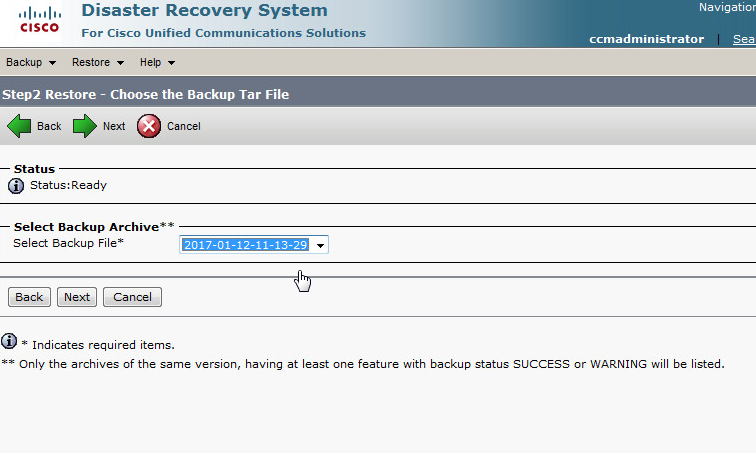
  • Select your Backup Archive and click next.

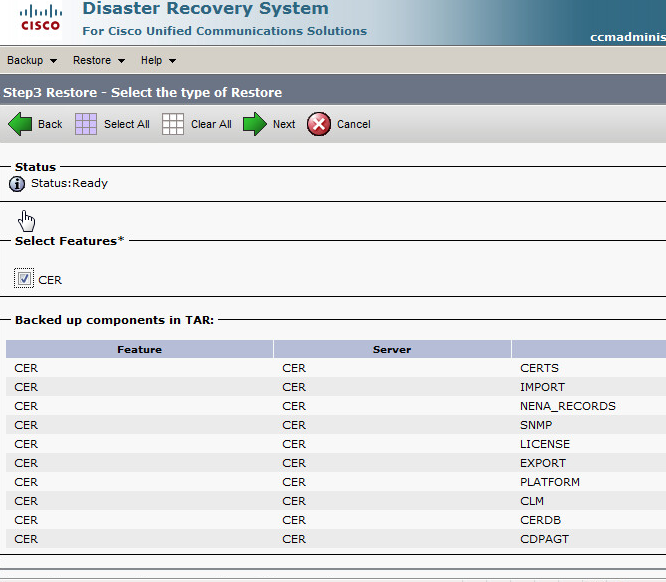
  • Select the features you’d like to restore and click next.

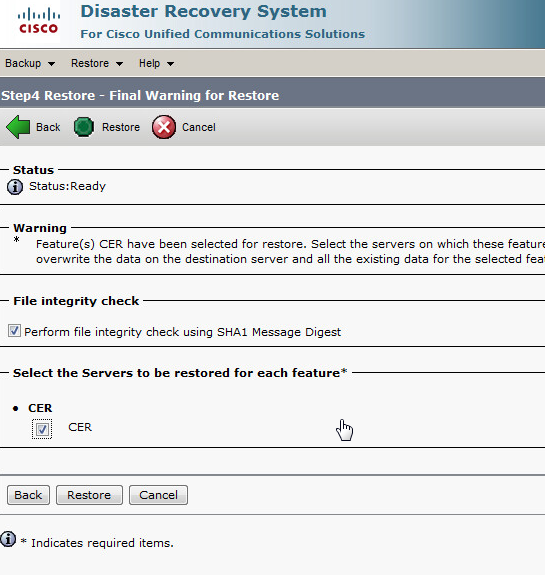
  • Select File integrity check and the servers to be restored then click Restore.


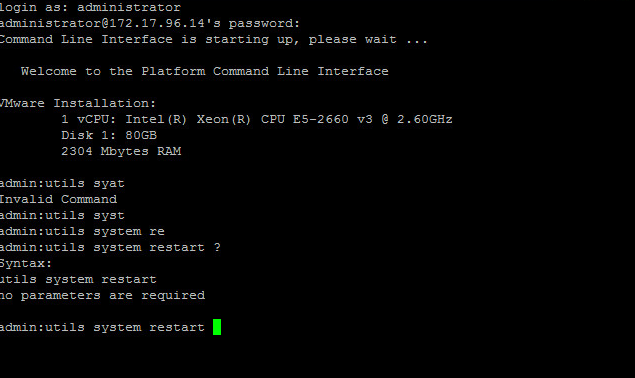
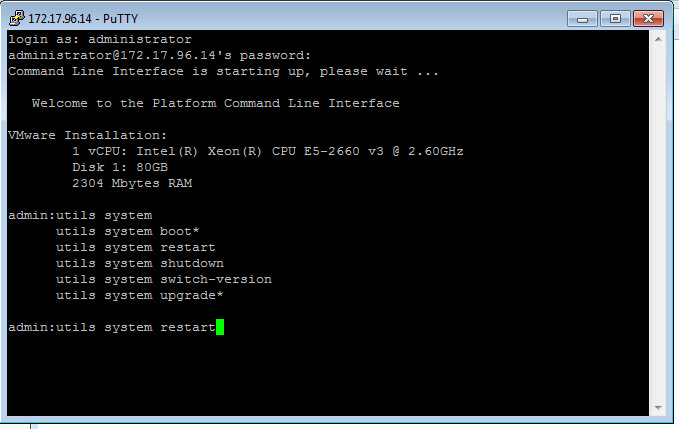
  • Wait for the restore process to finish. Once completed you will need to reboot the virtual machine by SSH’ing into the server and issuing the utils system restart command.

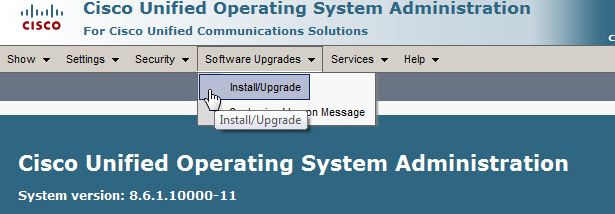
  • Next we can begin the upgrade process. Select Cisco Unified OS Administration from the navigation drop down menu and click Go. Select the Software Upgrades menu and click Install/Upgrade.

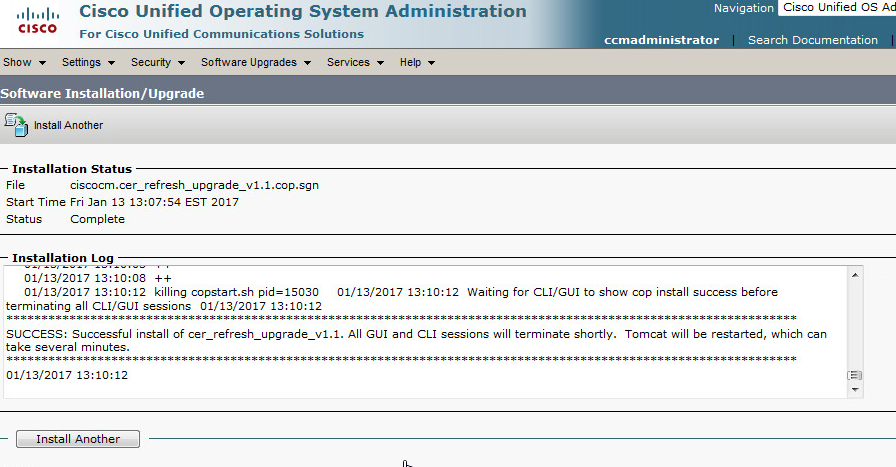
  • First we need to install ciscocm.cer_refresh_upgrade_v1.1.cop.sgn, a Cisco Options Package that is necessary to upgrade from 8.6 to 10.5. The file can be downloaded from Cisco and will need to be placed in your SFTP directory.
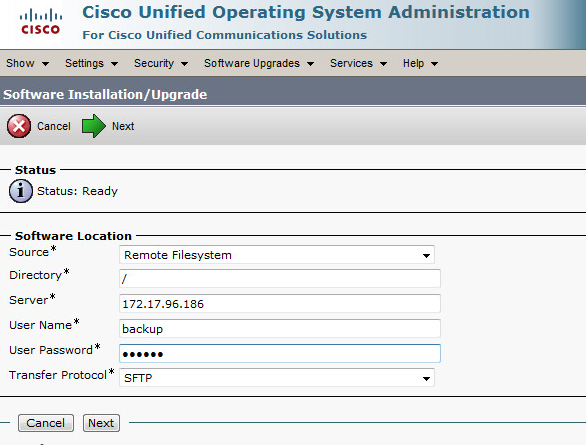
  • Select Remote Filesystem as the software source.
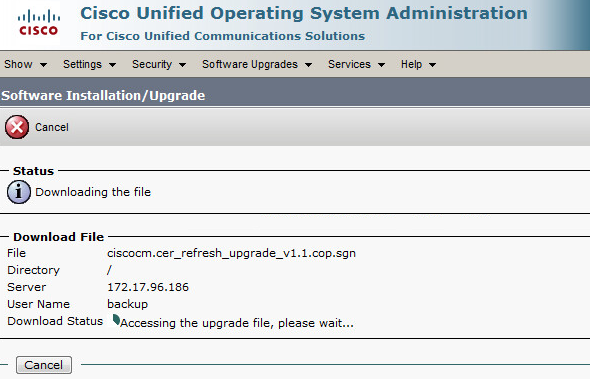
  • Configure the Software Location to point to your PC running freeSSHd then click next.

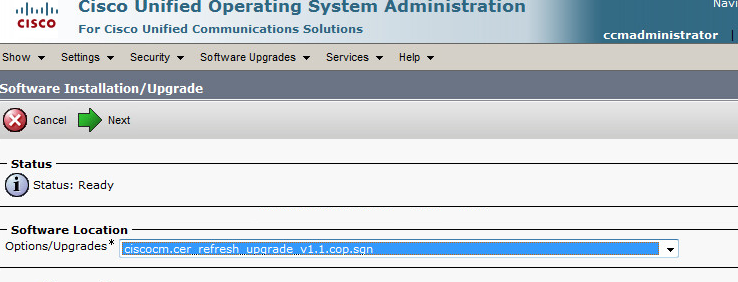
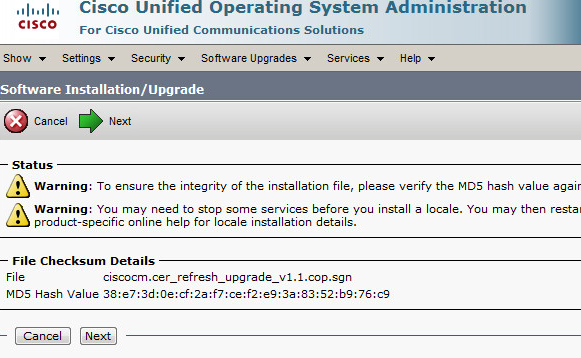
  • Under Software Location select ciscocm.cer_refresh_upgrade_v1.1.cop.sgn and click next.

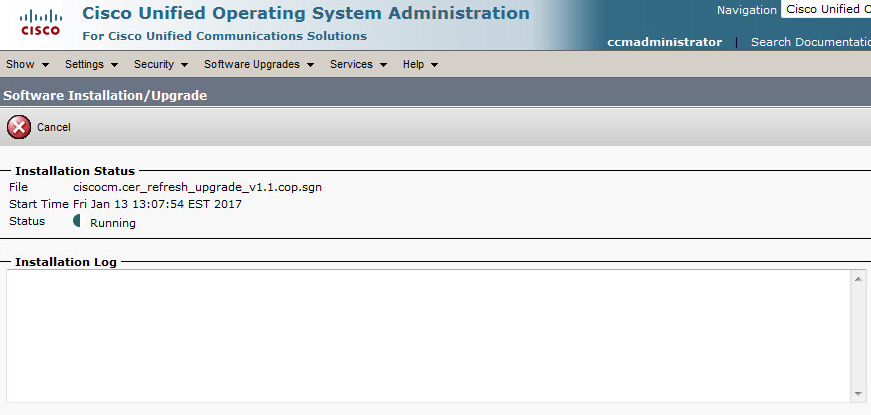
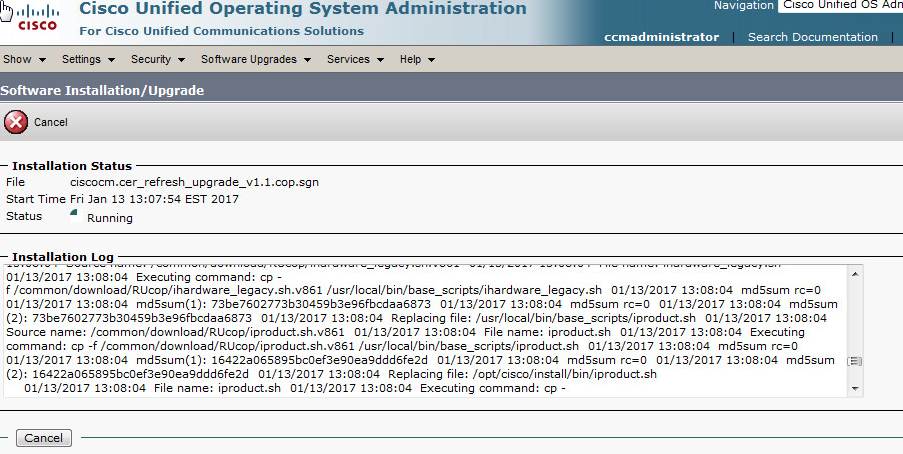
  • You should then see the install progress.

  • Reboot the system.

  • Next, mount the 10.5 install media on the virtual machine. Select Connected and Connected at power on.

  • Select Cisco Unified OS Administration from the navigation drop down menu and click Go. Select the Software Upgrades menu and click Install/Upgrade.
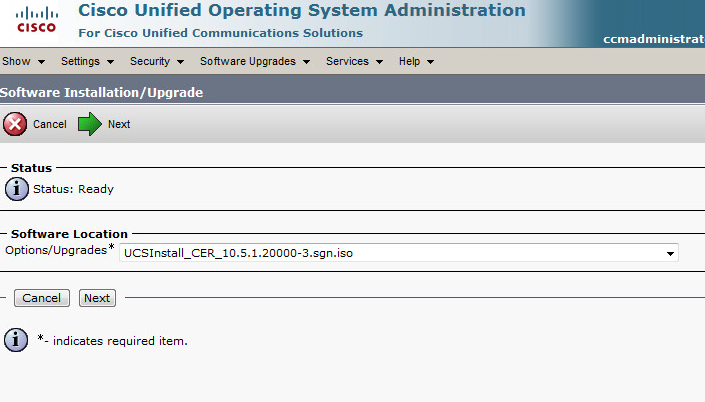
  • Select DVD/CD as the software source and click next.

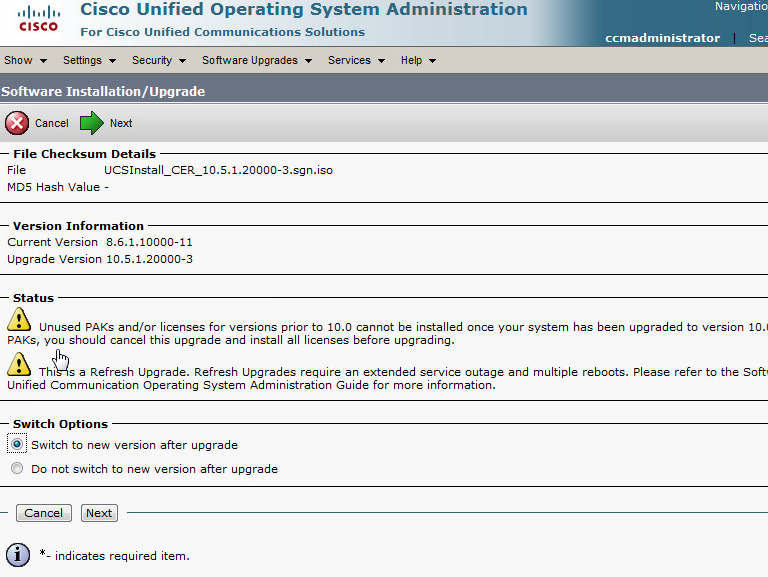
  • Be sure the correct software version is displayed and click next.

  • Select your Switch options and click next.

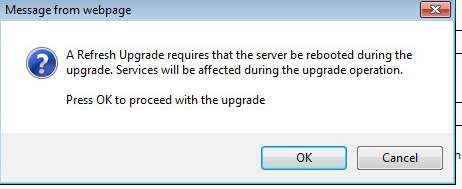
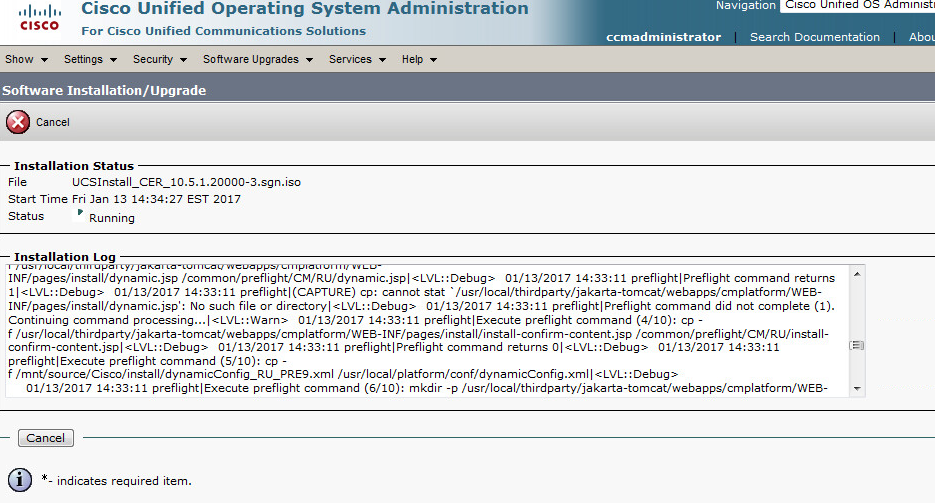
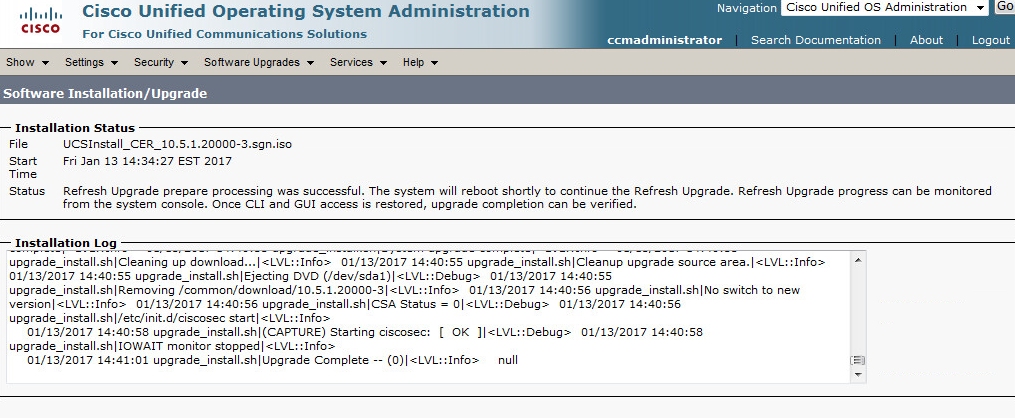
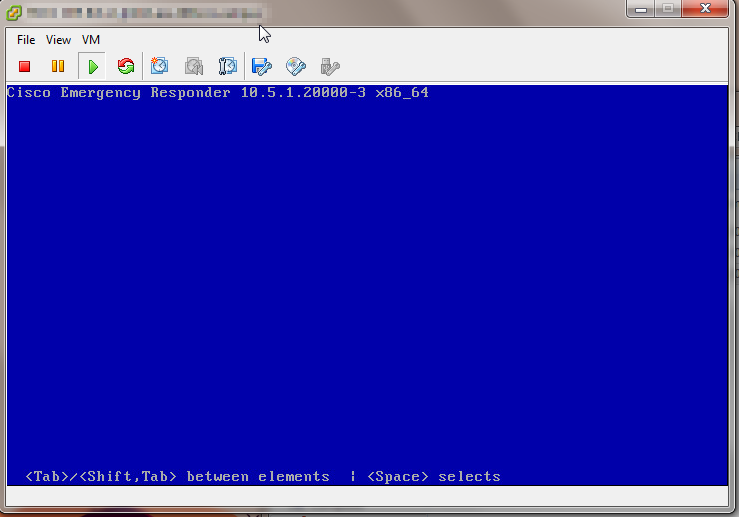
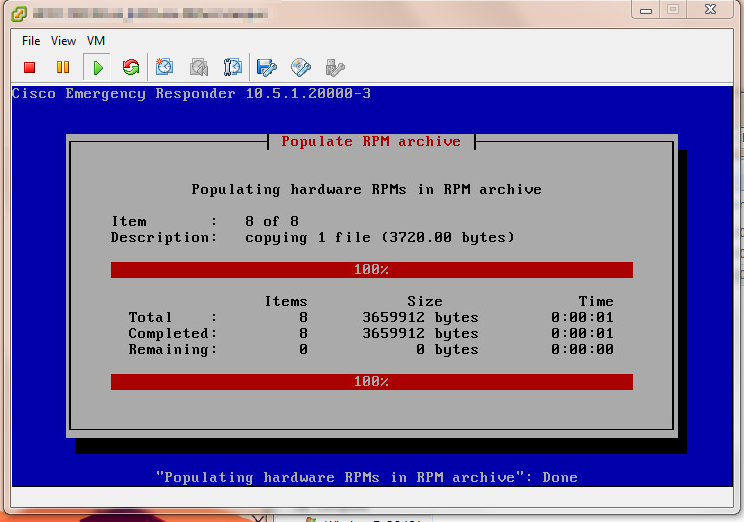
  • Follow the upgrade process on screen, when the system reboots you can view the install progress from the vmware console.

And that’s it. Once completed you should now have a fully upgraded version of CER 10.5, complete with migrated data from the old physical installation.
Creating a Bootable ISO from Cisco Non-Bootable Updates

There’s plenty of great posts out there on how to make bootable CUCM/Collaboration media with paid GUI software such as UltraISO or free command line utilities like cdrtools. Inspired by those bloggers, I wanted to share a method to create bootable media that features the best of both worlds: open source utilities with easy to use interfaces, all for the low low price of free.

Software you’ll need:

7-Zip / cdrtfe

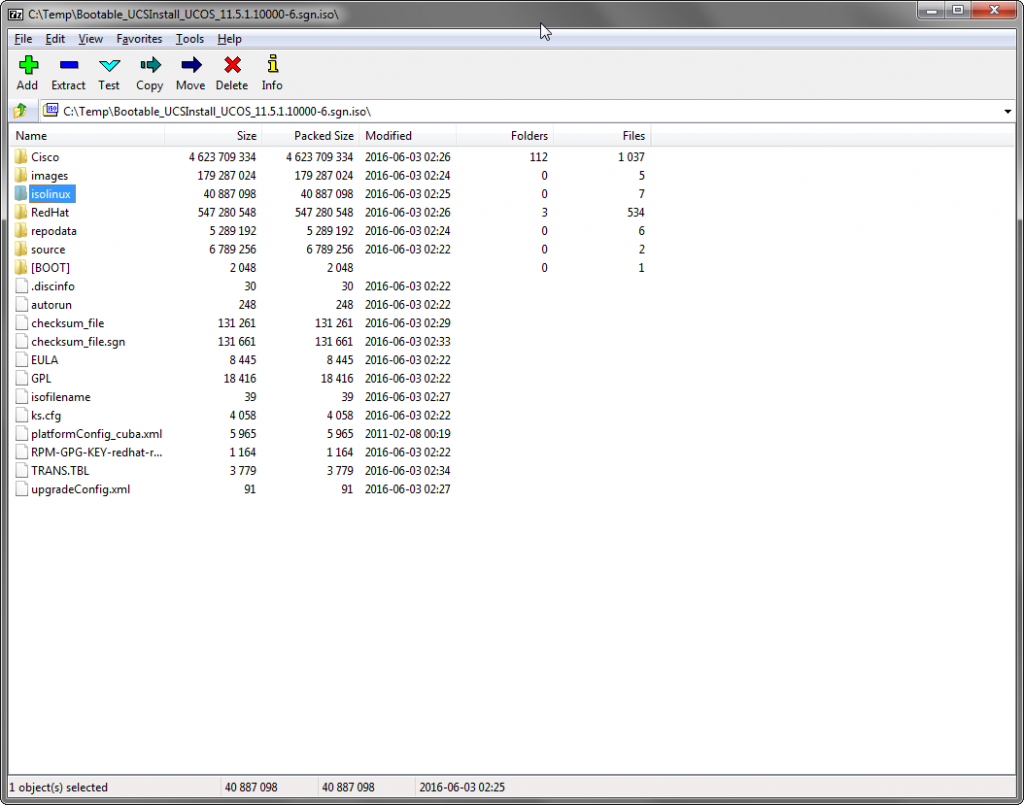
First, find an existing bootable CUCM ISO (a Red Hat or CentOS live cd will do the trick as well) and open it in 7zip.

2016-07-12 11_40_49-C__Temp_Bootable_UCSInstall_UCOS_11.5.1.10000-6.sgn.iso_

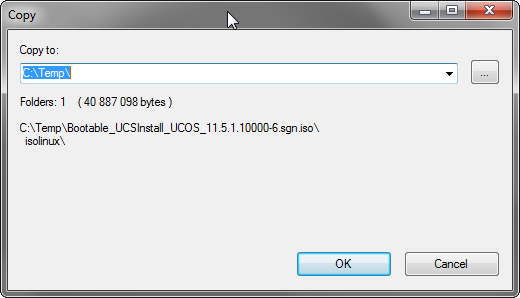
Find the isolinux directory, highlight it, and click Extract. Choose where to save the files.

2016-07-12 12_57_58-Copy

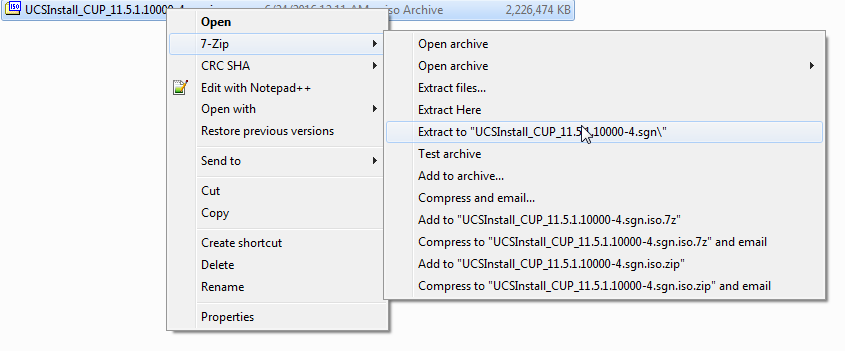
Next, take your non-bootable update dvd from Cisco and extract the contents with 7zip by right clicking the ISO -> 7-Zip -> Extract to….

2016-07-12 12_59_10-Temp

Copy the isolinux directory you extracted earlier to the newly extracted Cisco ISO folder, overwriting any duplicate files.

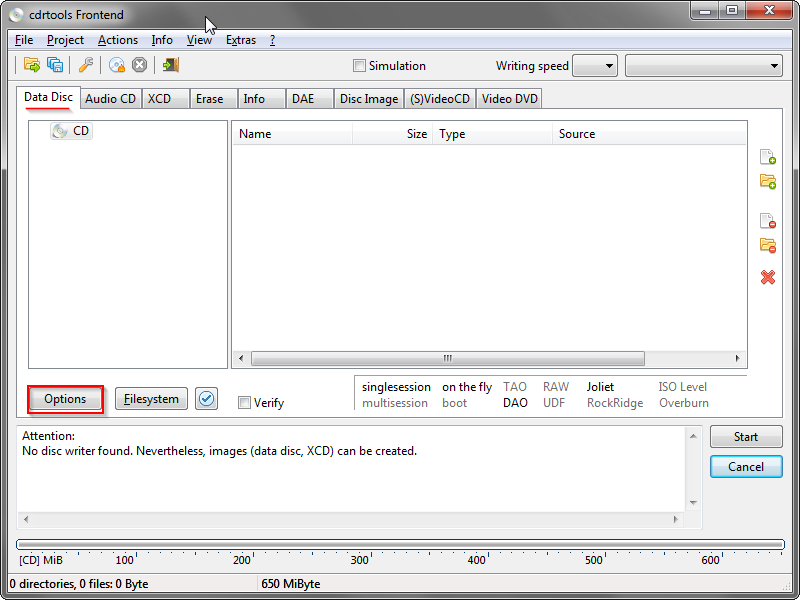
Now open cdrtfe. Under the Data Disc tab click Options.

2016-07-12 20_33_09-cdrtools Frontend

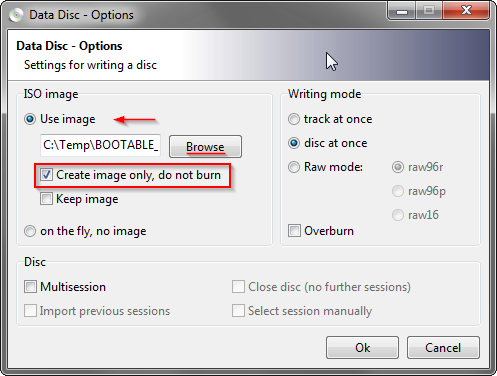
Under ISO image, select Use image, and browse to a location to store the finished ISO. Check Create image only, do not burn. Click Ok.

2016-07-12 20_33_47-Data Disc - Options

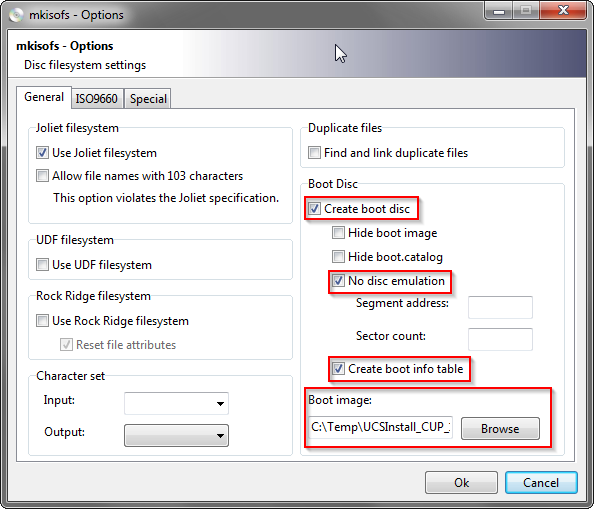
Next, click the File System button. Check the following options: Create boot disc, No disc emulation, and Create boot info table. Under the Boot image field, browse to the copied isolinux directory of your extracted ISO folder and select isolinux.bin. Click Ok.
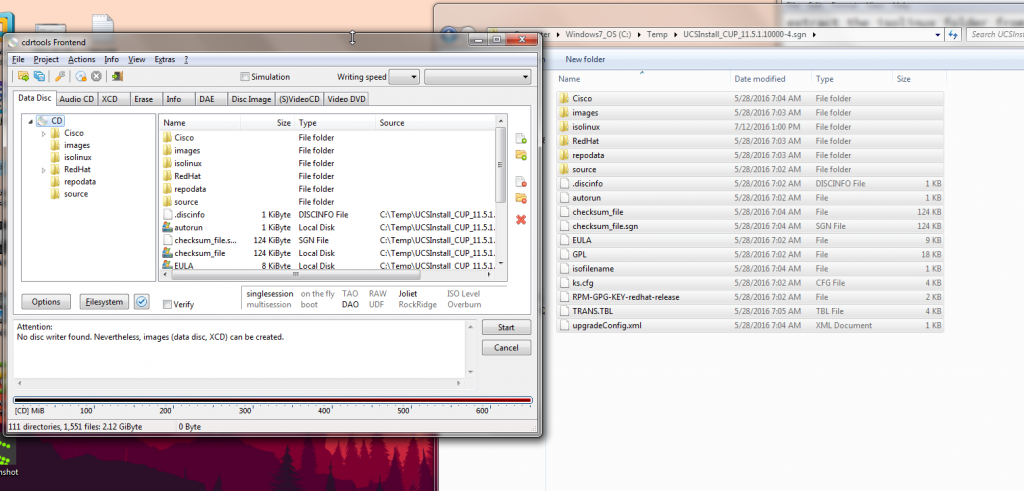
2016-07-12 20_44_37-mkisofs - OptionsIn file explorer, browse to your extracted ISO folder and copy over all the files and folders into the cdrfte window.

2016-07-12 20_41_20-UCSInstall_CUP_11.5.1.10000-4.sgnClick Start to create your ISO. Once completed you should have a fully bootable ISO!

2016-07-13 19_50_41-2016-07-12 20_46_20-cucm_im_p_11.5_vmv8_v1.2 - VMware Workstation.png - Windows


Troubleshooting TFTP Issues with Cisco Unified Real-Time Monitoring Tool (RTMT)

I’ve recently began studying for my CCNA Collaboration exam and to help with my studies I’ve built a small collaboration lab. Nothing too fancy, a 2811 with PVDMs and FXO/FXS cards, 2 3750 PoE switches, and 2 Cisco 7960 VOIP phones. My lab server has a dedicated NIC which connects to the lab network and hosts a domain controller, workstation, and CUCM 11.5 virtual machines.

All this was working well until I configured the switches to have a separate dedicated voice VLAN. The phones started having issues contacting CUCM and downloading new configuration files or firmware. If I moved the phones back to the same VLAN as CUCM the phones would work properly. Sounded like a TFTP issue to me, and here are the steps I followed to resolve the issue.

TLDR; ip tftp source-interface

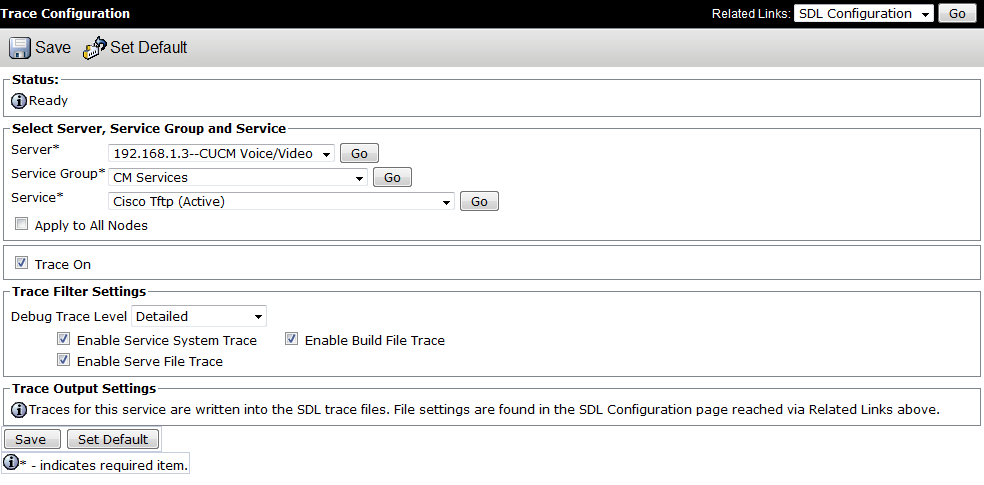
First, I setup a trace to capture TFTP logs from my CUCM server.

  • From the CUCM Console: select Cisco Unified Serviceability from the Navigation drop down, and click Go.

2016-06-28 20_29_24-Cisco Unified CM Console

  • On the Cisco Unified Serviceability page select Trace -> Configuration

trace

  • Select your CUCM Server running the TFTP service for Server then select CM Services under Service Group.
  • For Service select Cisco Tftp then click Go.
  • Be sure Trace On is selected then change the Trace Level to Detailed.
  • Click Save.

2016-06-28 20_36_32-Cisco Unified Serviceability - Trace Configuration

With the detailed TFTP trace enabled, I tried resetting the phones to duplicate the issue. Once I verified the issue was still occurring it was time to grab the trace files.

To download the trace files you’ll need to use the Cisco Unified Real-Time Monitoring Tool which comes bundled with CUCM. To download the tool, follow these steps.

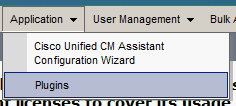
  • From the CUCM Administration page navigate to Application -> Plugins.

2016-06-28 20_46_18-Cisco Unified CM Console

  • Near the bottom of the plugins page find the download link for Cisco Unified Real-Time Monitoring tools.
  • Download the tool for your appropriate os and install.

2016-06-28 20_50_36-Find and List Plugins

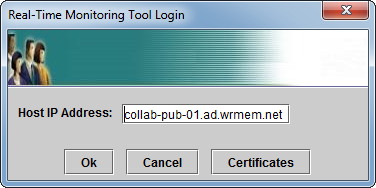
  • When you run the program it will ask you for the IP of the CUCM server and the GUI username/password.

2016-06-28 20_52_43-Real-Time Monitoring Tool Login2016-06-28 20_53_00-Authentication Required2016-06-28 20_53_13-


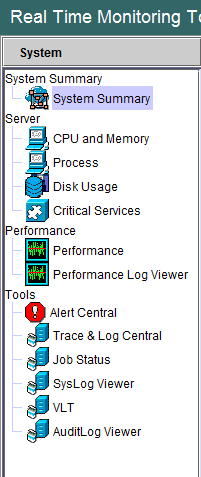
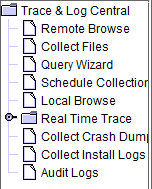
  • Select Trace & Log Central. Then double click Collect Files.

2016-06-28 20_53_45-Cisco Unified Real Time Monitoring Tool (Currently Logged into_ collab-pub-01.a2016-06-28 20_54_07-Cisco Unified Real Time Monitoring Tool (Currently Logged into_ collab-pub-01.a


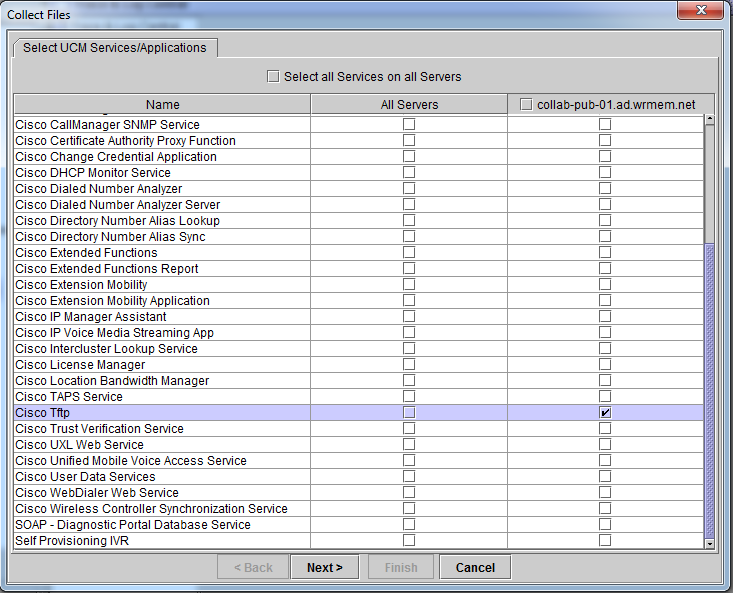
  • Scroll down to find Cisco Tftp and select either All Servers or an individual server.

2016-06-28 20_54_49-Cisco Unified Real Time Monitoring Tool (Currently Logged into_ collab-pub-01.a

  • Select your download options and click Finish.

2016-06-28 20_55_33-Collect Files

You should now have a wealth of information to dive into to try and troubleshoot your issue. As I was perusing the TFTP trace logs a few lines popped out at me.

2016-06-28 21_16_12-C__Users_bryan_Desktop_SDL001_600_000002.txt - Notepad++It would appear that the phone is contacting the TFTP server, but its IP address was not part of my voice VLAN. In fact, the source IP was the IP of the outside interface of my 2811!

After some quick google’ing I came across this article on the ip tftp source-interface command. Because my router was sourcing TFTP traffic from its outside interface, CUCM was not able to route the traffic back to 7960 phone.

Simply adding the ip tftp source-interface command followed by the VLAN my CUCM server resided in resolved the issue and my phones began registering again.

COLLAB-SW-01(config)#ip tftp source-interface vlan 103
COLLAB-SW-01(config)#end
COLLAB-SW-01#wr
Building configuration...
[OK]
COLLAB-SW-01#