Upgrading IOS-XE on a Cisco ISR 4400

Just got in a new Cisco ISR 4431 and needed to upgrade IOS-XE out of the box. Cisco has been nice enough to include a 1Gb USB flash drive with their new ISRs, making the software upgrade process a cinch. Here are the steps involved to install a new version of IOS-XE via USB drive.

  • Download your chosen version of IOS-XE from cisco.com. Keep in mind there are often may different trains and revisions of code available.
    • To help you decide which version of code is right for you, there’s the cisco IOS feature navigator found here.
    • To help differentiate the different designations of code, i.e., MD, ED, GD, take a look here.
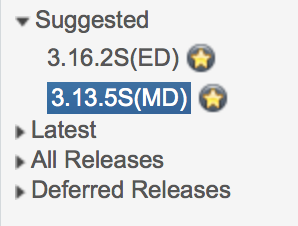
    • Typically I opt for a gold star release, which are cisco recommended releases “based on software quality, stability and longevity.”

ios-xe01

  • Copy the downloaded image to your USB drive and insert it into the ISR
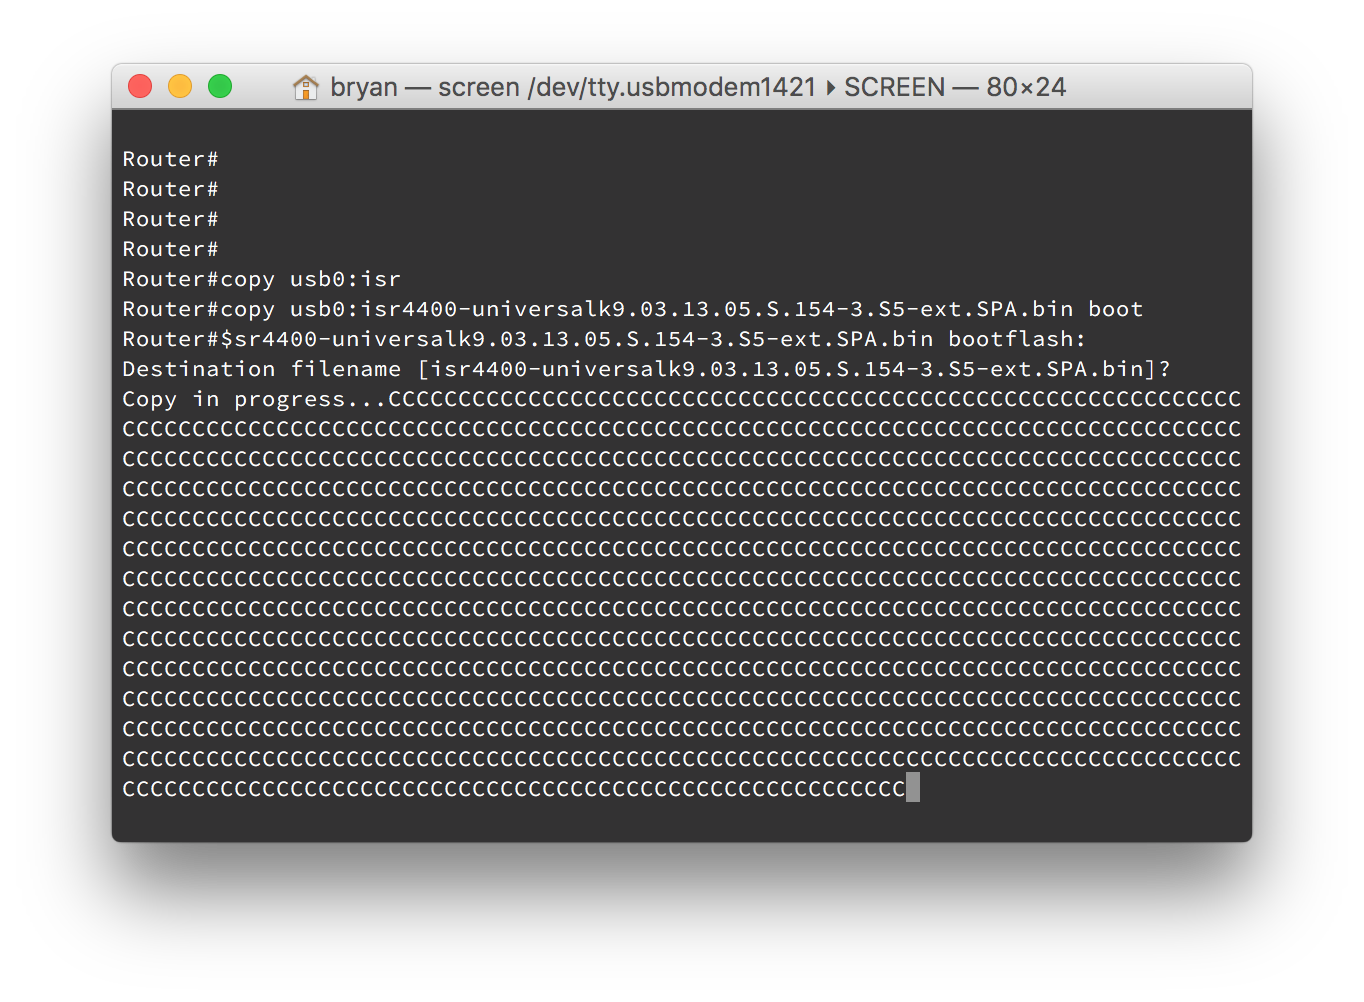
  • Copy the IOS-XE image from the usb to the ISR’s bootflash
    • copy usb0: bootflash:

isr-xe03

  • Enter global configuration mode and set the ISR to boot from the new image
    • conf t
    • boot system flash bootflash:isr4400-universalk9.03.13.05.S.154-3.S5-ext.SPA.bin
  • Verify the correct boot system parameters
    • show run | include boot
  • Save your configuration
    • copy running-config startup-config
  • Reload the ISR
    • reload

ios-xe04

  • When the device finishes reloading, verify that the device is running the correct version of IOS-XE
    • show version

This type of software installation is referred to as a consolidated package. Cisco also supports the installation of individual packages from an IOS-XE image. To see Cisco’s full documentation for software configuration on an ISR 4400 as well as instructions for consolidated and individual package installs please see here.

Installing a CA Signed SSL Certificate in SourceFire Defense Center 6.0

I don’t know about you, but self-signed certificates seem to trigger my IT OCD. When possible, I like to replace self-signed certs with one signed by our Active Directory CA. Here are the steps involved to replace the self-signed certificate on Cisco’s FirePOWER Management Center/SourceFire Defense Center with one signed by your internal Active Directory Certificate Authority.

  • In Defense Center, go to System -> Configuration -> HTTPS Certificate
  • Click “Generate New CSR”

sfcsr01

  • Fill out the Certificate Signing Request information, paying attention to the common name field. The common name should match the address you use to access defense center, e.g., defensecenter.domain.org

sfcsr02

  • Click generate, and copy/paste the certificate request output to notepad

sfcsr03

  • Next, navigate to your Certificate Services website and click “Request a Certificate”

sfcsr04

  • Click “Submit an advanced certificate request”

sfcsr05

  • Under “Saved Request,”paste your certificate request output from earlier and select the Web Server certificate template. Click Submit

sfcsr06

  • Download your newly generated certificate (Base64 encoded) and open it with your text editor of choice

sfcsr07sfcsr08

  • Copy the output of your cert and go back to Defense Center. Navigate to System -> Configuration -> HTTPS Certificate
  • Click Import HTTPS Certificate and paste your certificate information into “Server Certificate”

sfcsr01

sfcsr09

  • Click “Save” and you should now see your new certificate installed.
  • Reload Defense Center and you should now trust the web server (assuming of course you trust the root CA)

sfcsr10

Using the Built in TFTP Server on OS X El Capitan

On Windows I love the lightweight and open source TFTPD32, but there may come a time when you find youself needing to transfer some files and all you have is your trusty mac.

Luckily there’s a built in tftp daemon that you can use in a pinch.

By default tftpd uses the following folder:

/private/tftpboot

which is hidden in finder, but can be accessed by using “go to folder” or hitting Command+Shift+G and entering /private/tftpboot

osxtftp01

To launch the daemon run the following commands:

sudo launchctl load -F /System/Library/LaunchDaemons/tftp.plist
sudo launchctl start com.apple.tftpd

Be sure Read/Write/eXecute permissions are set on the tftpboot folder and any files you wish to transfer:

sudo chmod 777 /private/tftpboot
sudo chmod 777 /private/tftpboot/*

If you’ll be transferring a file TO your TFTP server, the file will technically need to exist on the server beforehand so create it with touch. For example:

sudo touch /private/tftpboot/running-config
sudo chmod 777 /private/tftpboot/running-config

If you’d like a graphical front end for launching tftp then check out the great TftpServer.

osxftp03

Now go ahead and get transferring.

osxtftp02

USB Serial Console Cable on OS X

Recently picked up a new usb cable for connecting to my network devices and needed a refresher on connecting to the console.

After installing device drivers (if necessary) and connecting the cable to your mac, open up a terminal and list the contents of your dev directory, filtering for devices with usb in their name.

ls /dev/*usb*

Find the proper tty device and use screen to open a connection on the port. You can specify the speed of 9600 but screen will use that value by default.

screen /dev/tty.usbmodem1421 9600

usbtty01

You should now find yourself on the console of your network device. To quit screen hold control-a and then hit \

usbtty02

usbtty